Spotting a few missing shingles or shingles with curled edges might seem minor at first. But you should know that even small roof damage can lead to thousands of dollars in repair costs if left unchecked. Most people wait too long and end up with claims denied or paperwork lost in endless back-and-forths. There’s actually a much smarter way to handle roof insurance claims, and it starts before you even pick up the phone.
Table of Contents
- Step 1: Assess Your Roof For Damage
- Step 2: Document The Damage Thoroughly
- Step 3: Review Your Insurance Policy
- Step 4: Contact Your Insurance Provider
- Step 5: Submit Your Claim With Supporting Evidence
- Step 6: Follow Up And Confirm Claim Status
Quick Summary
| Key Point | Explanation |
|---|---|
| 1. Conduct a thorough roof inspection | Inspect for visible damage from storms or wear and tear to assess the situation accurately. |
| 2. Document damage meticulously | Take clear photos and maintain detailed records to support your insurance claim effectively. |
| 3. Understand your insurance policy | Review coverage types and exclusions to know what is included before filing a claim. |
| 4. Communicate effectively with your insurer | Provide accurate details and maintain professionalism when submitting and discussing your claim. |
| 5. Follow up regularly on your claim | Proactively check the status of your claim to ensure timely processing and resolution. |
Step 1: Assess Your Roof for Damage
Before filing a roof insurance claim, a thorough damage assessment is your critical first step. Roof damage can occur from various events like severe storms, hail, wind, falling debris, or gradual wear and tear. Understanding the extent of your roof’s damage determines whether you have a valid insurance claim and helps you document the necessary evidence.
Start by conducting a comprehensive visual inspection from both the ground and, if safe, from a ladder. Look for visible signs of damage such as missing or cracked shingles, exposed roof decking, dents in metal components, granule loss on asphalt shingles, and areas where the roofing material appears displaced or worn. Pay special attention to vulnerable areas like roof edges, valleys, and areas around chimneys or skylights.
Learn how to identify potential roof damage by understanding the subtle and obvious indicators. Take clear, well-lit photographs from multiple angles, capturing both wide shots showing overall roof condition and close-up images that highlight specific damage areas. These photographs serve as critical documentation for your insurance claim, providing visual evidence of the roof’s condition.
If climbing on the roof seems dangerous or you are uncertain about assessing the damage, consider hiring a professional roofing inspector. Professional inspectors can provide a detailed assessment, generate an official damage report, and identify issues that might not be immediately visible to an untrained eye. Many roofing professionals offer free or low-cost initial inspections, which can provide valuable documentation for your insurance claim.
Documentation is key during this assessment phase. Create a comprehensive record including:
- Date of damage observation
- Specific location and type of damage
- Detailed photographs with timestamps
- Measurements of damaged areas
- Potential cause of damage (storm, age, etc.)
By meticulously documenting your roof’s condition, you establish a strong foundation for a successful insurance claim process.
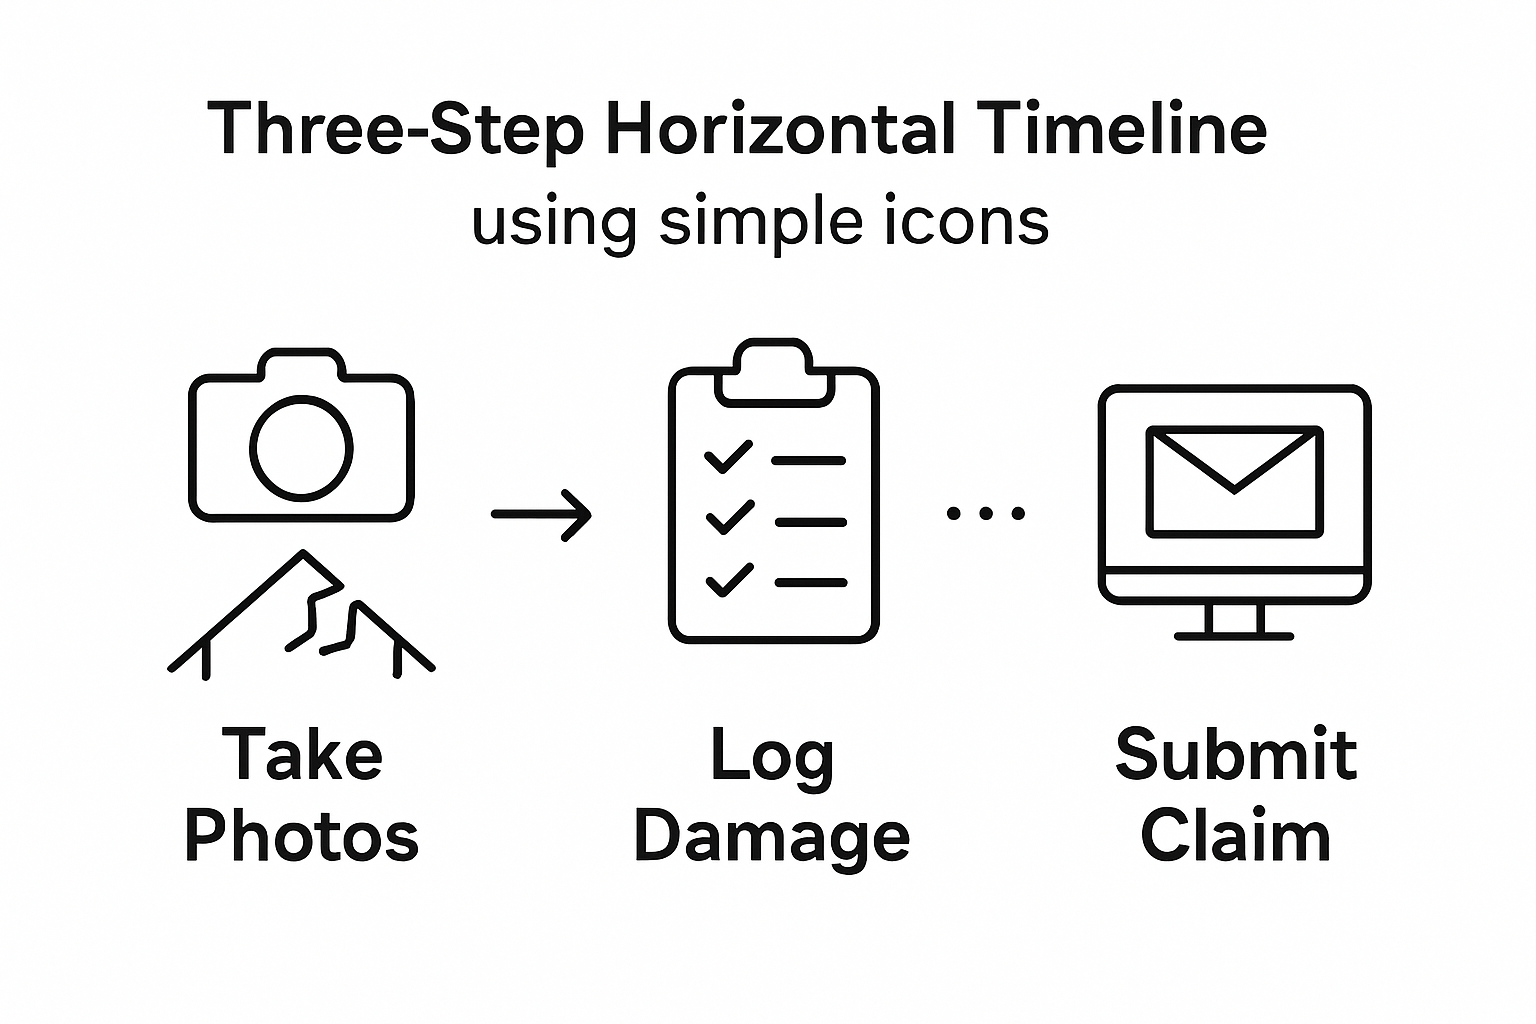
Here is a step-by-step overview of the roof insurance claim process, summarizing each main step with a brief description and key outcome to help you stay on track.
| Step | Description | Key Outcome |
|---|---|---|
| Assess Roof for Damage | Conduct a thorough inspection of roof and document | Initial evidence gathered |
| Document the Damage | Take comprehensive photos and keep records | Clear documentation for claim |
| Review Insurance Policy | Examine policy for coverage and claim requirements | Know what is covered and required |
| Contact Insurance Provider | Call or message insurer to begin the claim process | Claim officially initiated |
| Submit Claim with Evidence | Provide all supporting documentation and reports | Claim is under review |
| Follow Up on Claim Status | Maintain communication and track claim progress | Timely processing and resolution |
Step 2: Document the Damage Thoroughly
After your initial roof damage assessment, comprehensive documentation becomes the backbone of a successful insurance claim. Proper documentation transforms your observations into concrete evidence that insurance adjusters will review. Your goal is to create an irrefutable record of the damage that clearly demonstrates the need for repair or replacement.
Begin by gathering high-quality photographic and video evidence. Use a digital camera or smartphone with good resolution to capture detailed images. Learn more about identifying storm damage to understand what specific details matter most. Take wide-angle shots that show the entire roof’s condition, followed by close-up images that highlight specific damage areas. Ensure your photographs are well-lit and include clear, unobstructed views of cracked shingles, missing tiles, dented metal surfaces, and areas with visible wear or structural compromise.
According to the National Flood Insurance Program, it is crucial to document damage before making any repairs or cleaning up. This means capturing images that show the full extent of the damage in its original state. Create a systematic approach by photographing each section of the roof methodically, ensuring no area is overlooked. Include timestamps on your images and consider using a measuring tape or object for scale to provide context for the damage’s size and severity.
Beyond photographs, maintain a detailed written log of your observations. Document the date of damage, potential causes, and a comprehensive description of each damaged area. Note specific details such as:
- Exact location of damage on the roof
- Type of damage (missing shingles, punctures, water infiltration)
- Estimated size of damaged areas
- Potential impact on roof’s structural integrity
If possible, gather additional supporting documentation like weather reports from the time of suspected damage, previous roof inspection reports, and maintenance records. These supplementary documents can strengthen your insurance claim by providing context and historical evidence of your roof’s condition. Remember, the more comprehensive and organized your documentation, the smoother your insurance claim process will be.
Step 3: Review Your Insurance Policy
Understanding the intricacies of your homeowner’s insurance policy is a critical step in the roof damage claim process. Your policy is the legal contract that defines what damage is covered, what your financial responsibilities are, and how the claims process will unfold. Not all roof damage is treated equally, and the specifics of your coverage can significantly impact your potential reimbursement.
Understand the nuances of storm damage coverage by carefully examining your policy documents. Begin by locating the most recent version of your insurance policy, typically found in your online account or through physical documentation. Focus on sections related to dwelling coverage, specifically those detailing roof damage and repair provisions. According to the Texas Department of Insurance, policies typically offer two primary types of coverage: replacement cost and actual cash value.
Replacement cost coverage provides funds to replace your damaged roof with a new one of similar quality, regardless of the roof’s age. Actual cash value coverage, however, accounts for depreciation, meaning you’ll receive a reduced payment based on your roof’s current age and condition. Knowing your coverage type is crucial because it directly impacts the financial support you’ll receive for roof repairs or replacement.
Here is a quick comparison of roof insurance coverage types referenced in the article, helping you identify key differences that impact your claim.
| Coverage Type | What It Provides | Impact on Compensation |
|---|---|---|
| Replacement Cost | Pays for a new roof of similar quality regardless of age | Higher payout; full replacement value |
| Actual Cash Value | Pays for roof minus depreciation based on current roof age | Lower payout; depreciation reduces amount |
| Exclusions | Specific damages or scenarios not covered by policy | May result in claims being denied |
Carefully review your policy for specific details about roof damage claims, including:
- Deductible amounts for roof-related claims
- Time limitations for filing a claim
- Specific types of damage covered (wind, hail, storm)
- Exclusions or conditions that might void your claim
Pay close attention to the claim filing deadline, as insurance companies often have strict timelines for reporting damage. Some policies require claims to be filed within a specific period after the damage occurs, typically ranging from 30 to 180 days. If you’re uncertain about any policy details, contact your insurance agent directly. They can provide clarity on your coverage, explain complex policy language, and guide you through the specific requirements for your roof damage claim. Remember, a thorough understanding of your policy is your first line of defense in securing the compensation you deserve.
Step 4: Contact Your Insurance Provider
Initiating contact with your insurance provider marks a crucial turning point in your roof damage claim process. This step transforms your documented damage and policy review into an official claim. Preparation is key to ensuring a smooth and effective communication strategy that maximizes your chances of a successful claim resolution.
Learn more about navigating storm damage repairs to understand the nuances of the claims process. Begin by gathering all documentation collected in previous steps: your detailed photographs, damage assessment notes, and a clear understanding of your insurance policy. Choose the most convenient contact method for your insurance company, whether that’s their dedicated claims phone line, online claims portal, or local agent’s contact information.
When initiating the claim, be concise and factual in your communication. Clearly state the date of damage, type of damage, and provide a brief overview of the roof’s condition. Have your policy number readily available and be prepared to answer specific questions about the extent of the damage. Insurance companies typically want to understand the cause of damage, so be prepared to discuss whether the damage resulted from a specific weather event, gradual wear, or unexpected incident.
During your initial conversation, request specific information about the next steps in the claims process. Key details to confirm include:
- Expected timeline for claim processing
- Documentation required for claim submission
- Whether an in-person inspection will be scheduled
- Potential temporary repair recommendations
- Estimated timeframe for claim resolution
Document every interaction with your insurance provider, including the date, time, name of the representative you spoke with, and a summary of the conversation. This creates a paper trail that can be valuable if any disputes arise during the claims process.
Most insurance companies will assign a claim number during this initial contact, which you should record and reference in all future communications. Remember, your goal is to provide clear, comprehensive information that supports your roof damage claim while maintaining a professional and cooperative approach throughout the process.
Step 5: Submit Your Claim with Supporting Evidence
Submitting your roof insurance claim is a critical moment that requires precision, organization, and comprehensive documentation. This step transforms all your previous preparation into a formal request for compensation. Your goal is to create a compelling, well-organized claim package that leaves no room for doubt or potential denial.
Understand the intricacies of storm damage repair to help you navigate this complex process. According to the Washington State Office of the Insurance Commissioner, policyholders must cooperate fully with the insurance company’s investigation and provide thorough proof of loss. Begin by organizing all your collected documentation into a clear, logical format. This includes your detailed photographs, damage assessment notes, professional inspection reports, and any additional evidence of the roof’s condition before and after the damage.
Accuracy and completeness are paramount when submitting your claim. Prepare a comprehensive written statement that chronologically details the damage, including the date of occurrence, potential cause, and extent of the damage. Include copies of weather reports if the damage resulted from a specific storm or natural event. Some insurance companies prefer digital submissions, while others require physical documentation, so confirm the preferred submission method during your initial contact.
Ensure your claim submission includes the following critical elements:
- Detailed written damage description
- High-resolution photographs from multiple angles
- Professional inspection reports
- Estimate of repair or replacement costs
- Policy number and claim reference number
- Contact information for follow-up
Keep multiple copies of everything you submit, including digital backups and physical copies. Create a dedicated file or folder for your claim documentation, noting the date of submission and any communication with the insurance provider. After submission, follow up within a week to confirm receipt and inquire about the next steps in the claims process. Be prepared to provide additional information or schedule an adjuster’s visit if requested. Remember, a well-documented, professionally presented claim increases your chances of a favorable resolution and fair compensation for your roof damage.
Step 6: Follow Up and Confirm Claim Status
After submitting your roof insurance claim, proactive follow-up becomes essential to ensure the process moves forward efficiently. This step is about maintaining communication, tracking your claim’s progress, and being prepared to provide additional information if required. Insurance claims can sometimes become complex, and your active involvement can significantly impact the outcome.
Learn more about navigating storm damage repairs to understand the nuances of insurance claim processes. According to the Tennessee Department of Labor and Workforce Development, it is crucial to maintain direct communication with your assigned insurance adjuster. Establish a systematic approach to tracking your claim by creating a dedicated communication log. Note the date of initial claim submission, claim number, and contact information for the representative handling your case.
Consistent and professional communication is key to successfully navigating your roof insurance claim. Contact your insurance provider within 5-7 business days after submission to confirm receipt of your claim and inquire about the next steps. During these follow-up conversations, remain calm, courteous, and focused on gathering specific information about your claim’s status. Request an estimated timeline for claim processing and potential next steps, such as scheduling an adjuster’s inspection.
Prepare for your follow-up interactions by having the following information readily available:
- Original claim number
- Date of claim submission
- Names of previous representatives you’ve spoken with
- Detailed documentation of roof damage
- Your policy number
- Contact information
Be prepared for potential scenarios such as requests for additional documentation, scheduling of an on-site inspection, or questions about the extent of damage. If you encounter delays or feel your claim is not progressing, do not hesitate to escalate your inquiry to a supervisor or claims manager. Maintain copies of all communications, including emails, letters, and notes from phone conversations. Your meticulous documentation and persistent yet professional approach will help ensure a fair and timely resolution to your roof insurance claim.
Turn Roof Insurance Stress Into Real Solutions with Liberty Roofworks
Filing a roof insurance claim can be overwhelming. You want clear answers, fast repairs, and peace of mind that your home or business will be fully protected. After reading about assessments, documentation, and insurer negotiations, you may feel unsure what happens next, especially if you are faced with storm damage or you need certified inspection reports. This is where many homeowners and business owners struggle the most—finding a trusted local partner to handle roof repairs that meet insurance requirements from start to finish.
At Liberty Roofworks, we simplify the entire process for you. Our team offers in-depth storm damage repair services and professional inspections to help you document your damage correctly. We have years of experience working directly with insurance companies, so we know how to protect your investment and your claim. Why wait and risk costly mistakes or delays? Take control now. Contact us through our main website to schedule your assessment or to get expert help with your next insurance claim. Secure your property and your claim—reach out today to take the next step with a team that puts your needs first.
Frequently Asked Questions
How do I assess my roof for damage before filing an insurance claim?
To assess your roof for damage, conduct a visual inspection from the ground and, if safe, from a ladder. Look for signs such as missing or cracked shingles, granule loss, and structural wear. Take clear photographs to document any damage you find.
What type of documentation is needed to support my roof insurance claim?
You will need detailed photographs of the damage, a written log of observations, potential causes, and any supporting documents like previous inspection reports or weather records. Comprehensive documentation strengthens your claim.
How can I understand my homeowner’s insurance policy regarding roof damage?
Review your policy to determine the coverage type—replacement cost or actual cash value. Pay attention to sections that detail deductibles, claim filing deadlines, and specific damages covered to understand your financial responsibilities and the claims process.
What should I do after submitting my roof insurance claim?
After submitting your claim, follow up with your insurance provider within 5-7 business days to confirm receipt and check the claim’s status. Maintain a communication log and be prepared to provide additional information if asked.
