After a severe storm in Charlotte, North Carolina, many homeowners discover unexpected dents on gutters or dark spots on their shingles and wonder if a minor issue might actually be serious hail damage. Knowing the difference between normal wear and real storm impact can save time and expense before reaching out to a contractor. This guide highlights critical safety steps and the most reliable ways to visually check your property for signs of hail damage so you can make a confident decision about repairs.
Table of Contents
- Step 1: Prepare for a Safe Inspection
- Step 2: Assess Roof Surface for Obvious Marks
- Step 3: Examine Gutters and Downspouts
- Step 4: Check Shingles for Hidden Damage
- Step 5: Verify Attic and Interior Leaks
Quick Summary
| Key Point | Explanation |
|---|---|
| 1. Prioritize personal safety during inspection | Always prepare with the right equipment and check weather conditions before climbing onto your roof to avoid hazards. |
| 2. Use binoculars for initial roof assessment | Conduct a ground-level check first to identify potential damage areas on the roof without risking a climb. |
| 3. Document any damage thoroughly | Take clear photographs of hail damage on the roof, gutters, and inside the attic for insurance claims or professional evaluations. |
| 4. Examine gutters for impact signs | Inspect gutters for dents or cracks that indicate severe hail damage, which could affect functionality and drainage. |
| 5. Check attic for signs of leaks | Look for water stains and moisture in your attic and ceilings, as these can reveal underlying hail damage and prevent future issues. |
Step 1: Prepare for a Safe Inspection
Before climbing onto your roof to assess potential hail damage, your primary focus should be personal safety. A thorough inspection requires careful preparation and the right equipment to minimize risks. Understanding how to safely conduct roof inspections will help you protect yourself while gathering critical information about potential storm damage.
Start by checking the ground around your home for immediate signs of hail impact such as damaged plants, dents in outdoor furniture, or marks on your vehicle. These visual cues can indicate the severity of the storm and potential roof damage. Gather essential safety equipment including a sturdy ladder, non slip shoes, protective gloves, safety glasses, and a reliable flashlight. If your roof has a steep pitch or you feel uncomfortable with heights, consider hiring a professional roofing inspector who can perform a comprehensive assessment.
When preparing for your roof inspection, carefully assess weather conditions and ensure surfaces are completely dry to prevent slipping. Inspect your ladder for stability and set it up on level ground at the proper angle. Always maintain three points of contact when climbing and consider having a spotter present who can assist you if needed.
Pro tip: Use binoculars to conduct an initial ground level assessment of your roof before attempting any physical climbing, which can help you identify potential damage areas while keeping yourself safe.
Step 2: Assess Roof Surface for Obvious Marks
Now it is time to carefully examine your roof surface for telltale signs of hail damage. Using binoculars or a safe vantage point, you will want to look for specific hail impact indicators across your shingles and roofing materials. The key is to identify distinctive patterns and marks that distinguish hail damage from normal wear and tear.
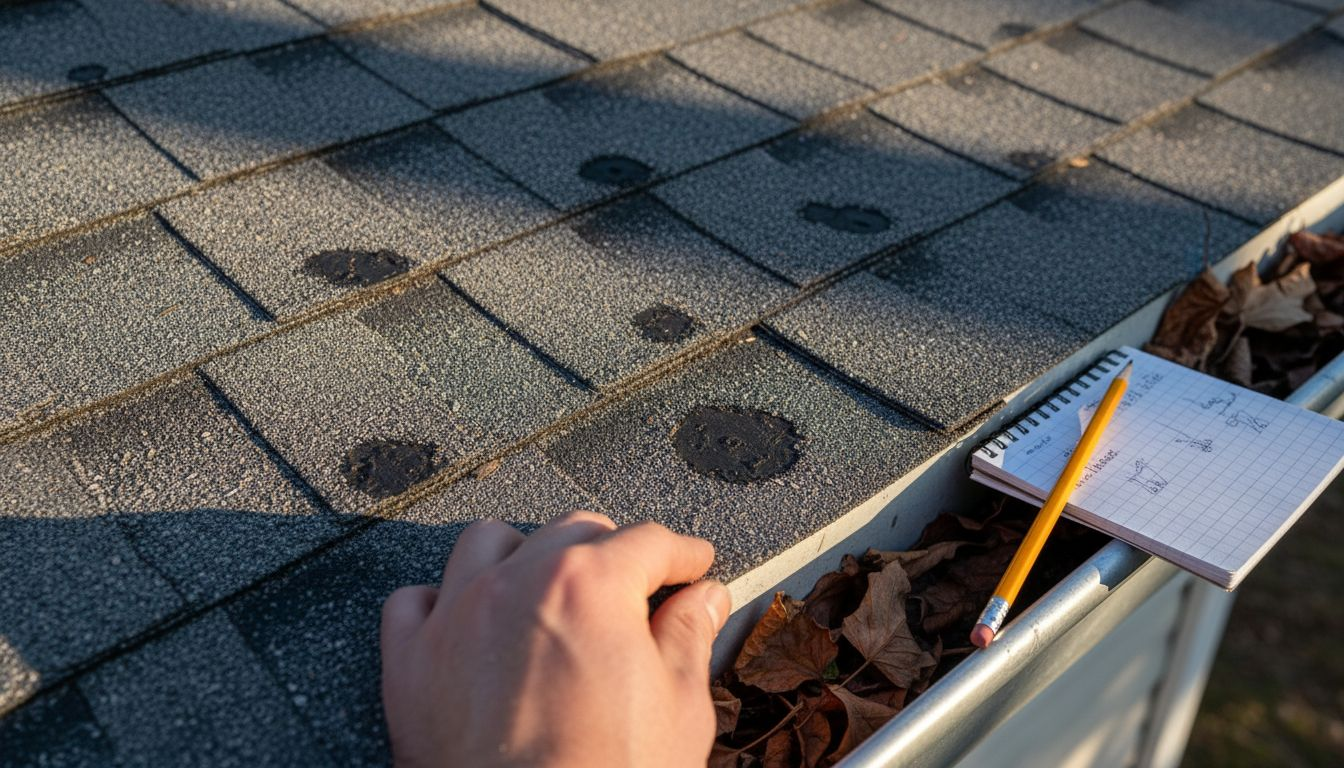
Start by scanning your roof for dark spots where granules have been dislodged from asphalt shingles, revealing the underlying black substrate. These areas often appear bruised or discolored and represent locations where hailstones have struck with significant force. Pay special attention to areas where metal components like vents, skylights, and chimneys intersect with your roofing surface, as these typically show more pronounced impact marks. Look for circular or irregular indentations on shingles, which indicate direct hail strikes and potential structural weakening.
If you notice widespread damage or areas where multiple shingles show consistent impact marks, this could signal significant storm damage that requires professional assessment. Remember that not all hail damage is immediately visible from the ground, so a comprehensive inspection might require closer examination or professional expertise.
Pro tip: Take clear, well lit photographs of any suspicious damage areas to document the condition and provide reference for insurance claims or professional roof evaluations.
Step 3: Examine Gutters and Downspouts
Moving beyond the roof surface, your next critical step is examining gutters and downspouts for signs of hail damage. Understanding how different materials respond to impact is crucial for a comprehensive assessment. When inspecting gutter damage from hailstorms, you will want to carefully evaluate the type of material and the nature of potential damage.
Aluminum gutters are particularly vulnerable to hail strikes and will show distinctive dents or dings that indicate recent storm impact. Look for small circular indentations that appear consistent in size and direction, which suggests hailstone bombardment. Steel gutters tend to be more resilient but can still show signs of damage through scratches or minor deformations. Pay special attention to the downspout areas where impact marks might be more pronounced. Check for punctures or cracks in vinyl gutters, which can reveal the severity of the hailstorm. If you observe multiple dents clustered in specific areas or notice breaks in the gutter alignment, these could be strong indicators of significant hail damage.
Carefully document any damage you find by taking clear photographs from multiple angles. These visual records will be invaluable when discussing potential repairs with a professional roofing contractor or filing an insurance claim. While some damage might seem minor, even small impacts can compromise your gutter system’s long term functionality and water drainage capabilities.
Here’s a comparison of common gutter materials and how they typically respond to hail impact:
| Gutter Material | Typical Hail Damage | Durability | Repair Complexity |
|---|---|---|---|
| Aluminum | Dents, dings common | Moderate | Easy to moderate |
| Steel | Scratches, minor bends | High | Moderate |
| Vinyl | Cracks, punctures | Low | Moderate to high |
| Copper | Light dents, patina marks | High | Higher cost |
Pro tip: Shine a flashlight at an angle along your gutters to help reveal subtle dents and impacts that might be difficult to see in normal daylight.
Step 4: Check Shingles for Hidden Damage
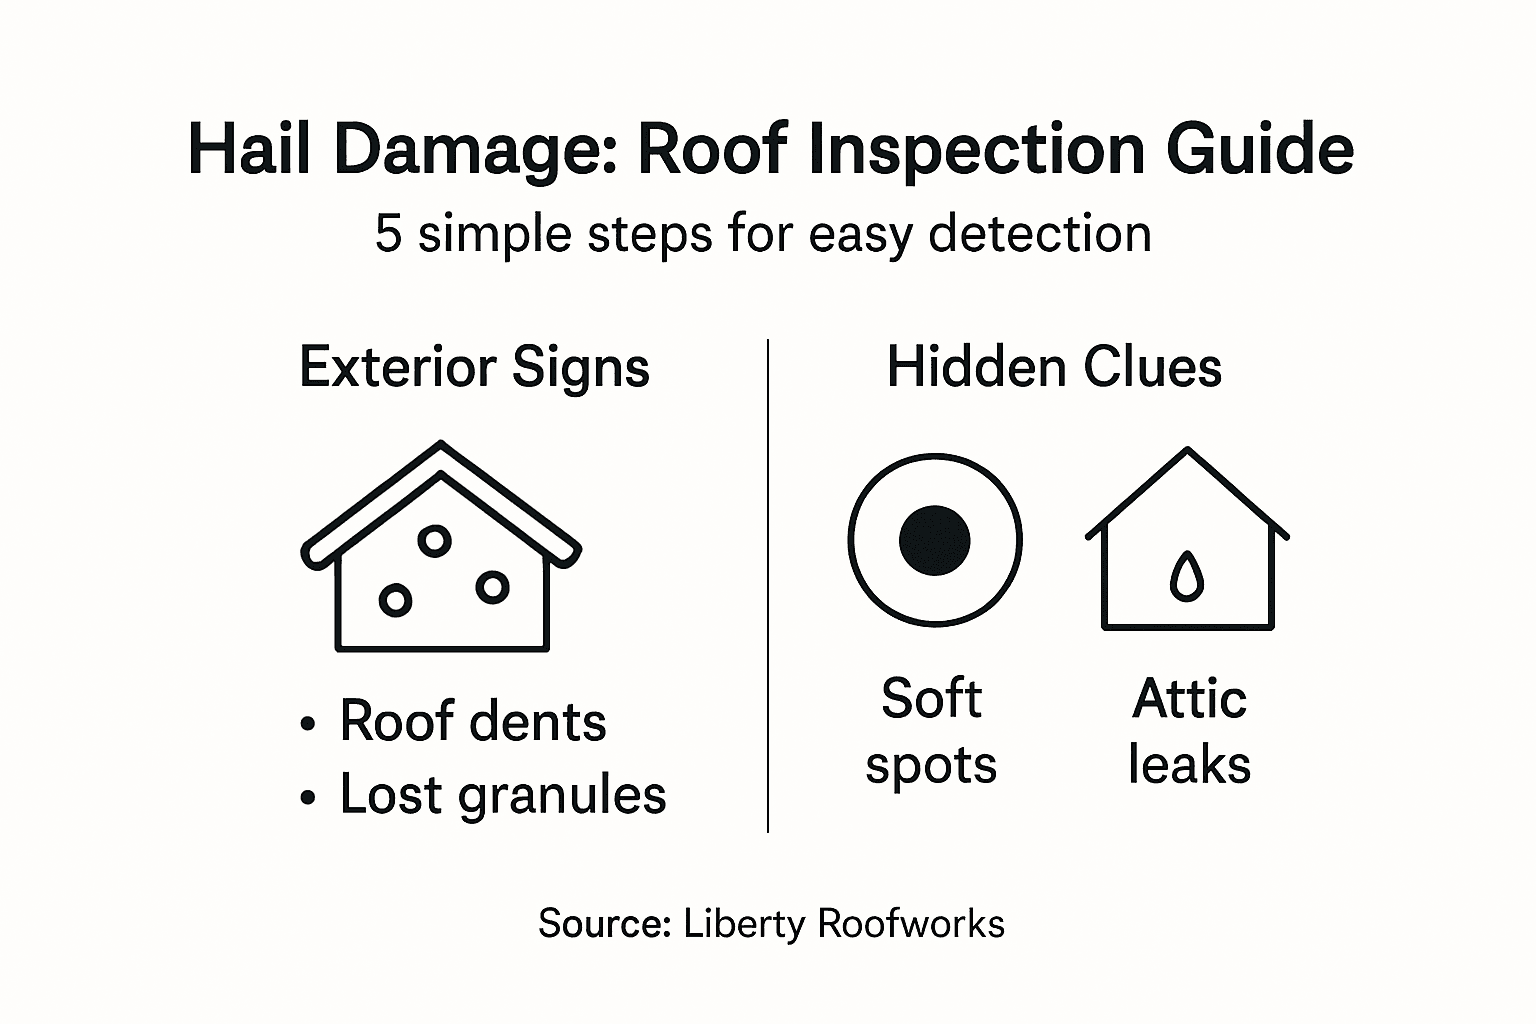
Hail damage is not always obvious at first glance. Some of the most critical damage can be concealed beneath the surface, requiring a meticulous approach to identifying hidden roof damage. Your goal is to uncover subtle signs that might compromise your roof’s long term integrity.
Begin by carefully examining each shingle for soft spots or bruising. Press gently on different areas to detect any unusual give or tenderness in the material. Look for areas where protective granules have been stripped away, revealing darker underlying surfaces. These granule loss zones indicate potential structural weakening and can appear as dark or discolored patches that seem slightly different from surrounding shingles. Pay special attention to areas that receive direct sunlight or were most exposed during the hailstorm. Metal flashing around chimneys, vents, and skylights can also show small dents or impacts that signal broader roof damage.
Because hidden damage can lead to significant future problems like leaks and structural deterioration, thorough documentation is crucial. Take close up photographs of any suspicious areas, ensuring good lighting and multiple angles. These images will serve as critical evidence for potential insurance claims and help professional roofing contractors assess the full extent of storm related damage.
Pro tip: Use a bright flashlight at an angle to help reveal subtle shingle damage that might be invisible in normal daylight.
Step 5: Verify Attic and Interior Leaks
Hail damage often reveals itself first inside your home, making a thorough interior inspection crucial. Detecting water intrusion signs can help you identify roof damage before it leads to extensive and expensive repairs. Your mission is to carefully examine your attic and interior spaces for subtle indicators of potential roof compromise.
Begin by entering your attic during daylight hours with a bright flashlight. Scan the underside of the roof deck, looking for water stains, dark spots, or discoloration that might indicate recent leaks. Check the roof rafters and underlying insulation for any signs of moisture or water damage. Feel the insulation for dampness and look for areas where water might have penetrated. Pay special attention to corners, edges, and areas around vents or chimneys where leaks are most likely to occur. On your interior ceilings, examine for water stains, soft spots, or areas of discoloration that could signal water infiltration from hail damage.
Remember that not all leaks are immediately visible. Some water damage can remain hidden for weeks or even months, gradually causing structural deterioration. If you notice any suspicious signs but are uncertain about the extent of damage, it is wise to contact a professional roofing inspector who can conduct a comprehensive assessment and provide expert guidance.
This table highlights key indicators of storm damage across different inspection points:
| Inspection Area | Damage Sign | Likely Impact |
|---|---|---|
| Shingles | Dark spots | Granule loss, leaks |
| Gutters | Circular dents | Water misdirection |
| Attic | Water stains | Interior leaks |
| Metal Flashing | Small dents | Possible rust, leaks |
Pro tip: Use a moisture meter in your attic to detect hidden water damage that might not be visible to the naked eye.
Protect Your Home with Expert Hail Damage Roofing Services
Identifying hail damage on your roof can feel overwhelming and risky. From spotting hidden shingle cracks to detecting subtle gutter dents or attic leaks, the process requires expertise and attention to detail to prevent costly repair or water intrusion over time. At Liberty Roofworks, we understand the frustration and worry that comes with storm damage. We specialize in comprehensive Storm Damage Repair and roof assessments tailored to your needs. Whether you have minor or extensive hail impact, our experienced team can restore the integrity of your roof quickly and safely.
Don’t wait until small hail damages turn into bigger problems affecting your home’s safety. Trust Liberty Roofworks for reliable Residential Roof Repair & Replacements performed with quality materials and craftsmanship. For peace of mind and lasting protection against future storms, visit us today at https://libertyroofworks.com and schedule a professional inspection or repair. Secure your investment with Charlotte’s trusted roofing experts now.
Frequently Asked Questions
How can I safely conduct a roof inspection for hail damage?
To safely conduct a roof inspection, use a sturdy ladder, wear non-slip shoes, and consider having a spotter present. Always maintain three points of contact while climbing and inspect your ladder for stability before use.
What specific signs of hail damage should I look for on my roof?
Look for dark spots on shingles where granules have been dislodged, as well as circular or irregular indentations indicating direct impacts. Use binoculars for an initial assessment from ground level to identify potential damage before climbing.
How can I check my gutters for hail damage?
Examine gutters for dents or dings, especially in aluminum materials, as these are common indicators of hail impact. Document any damage with clear photographs and note the condition to discuss with a professional if needed.
What hidden roof damage should I be aware of after a hailstorm?
Hidden damage may manifest as soft spots or bruising on shingles, areas without protective granules, or small dents in metal flashing. Inspect closely for these signs to prevent long-term issues such as leaks and structural damage.
How can I verify if there’s water intrusion from hail damage in my attic?
Look for water stains or discoloration on the underside of the roof deck in your attic. Use a bright flashlight to reveal any hidden issues and check insulation for dampness to assess if hail damage has resulted in water entry.
What should I do if I find signs of hail damage on my roof?
If you notice significant hail damage, contact a professional roofing inspector for a thorough assessment and repair recommendations. Prompt action is crucial to prevent further damage and potential leaks.
Recommended
