After a severe Carolina storm, discovering shingle debris in your yard or spotting dark streaks on your roof can feel overwhelming. For Charlotte homeowners, the aftermath of storm damage often brings tough decisions about repairs, materials, and who to trust with such an important project. This guide offers practical steps to help you confidently assess damage, compare roofing material options, and select the right contractor so your home is protected and your investment lasts.
Table of Contents
- Step 1: Evaluate Roof Damage And Needs
- Step 2: Select Roofing Materials And Options
- Step 3: Hire A Trusted Roofing Contractor
- Step 4: Organize Site Access And Safety
- Step 5: Verify Project Details And Timeline
- Step 6: Inspect Installation For Quality
Quick Summary
| Key Point | Explanation |
|---|---|
| 1. Early roof inspections can save money | Conduct routine visual evaluations to identify damage early and prevent more costly repairs later on. |
| 2. Choose materials based on local climate | Select roofing materials that are best suited for your environment to enhance durability and performance. |
| 3. Verify contractor credentials thoroughly | Ensure your roofing contractor has the proper licensing, insurance, and a positive reputation to avoid scams or poor workmanship. |
| 4. Prepare the site for safety and access | Strategic site preparation is essential to create a safe working environment and avoid hazards during the installation process. |
| 5. Inspect installation for quality assurance | Conduct a detailed post-installation inspection to confirm that all work meets professional standards and is free from potential issues. |
Step 1: Evaluate roof damage and needs
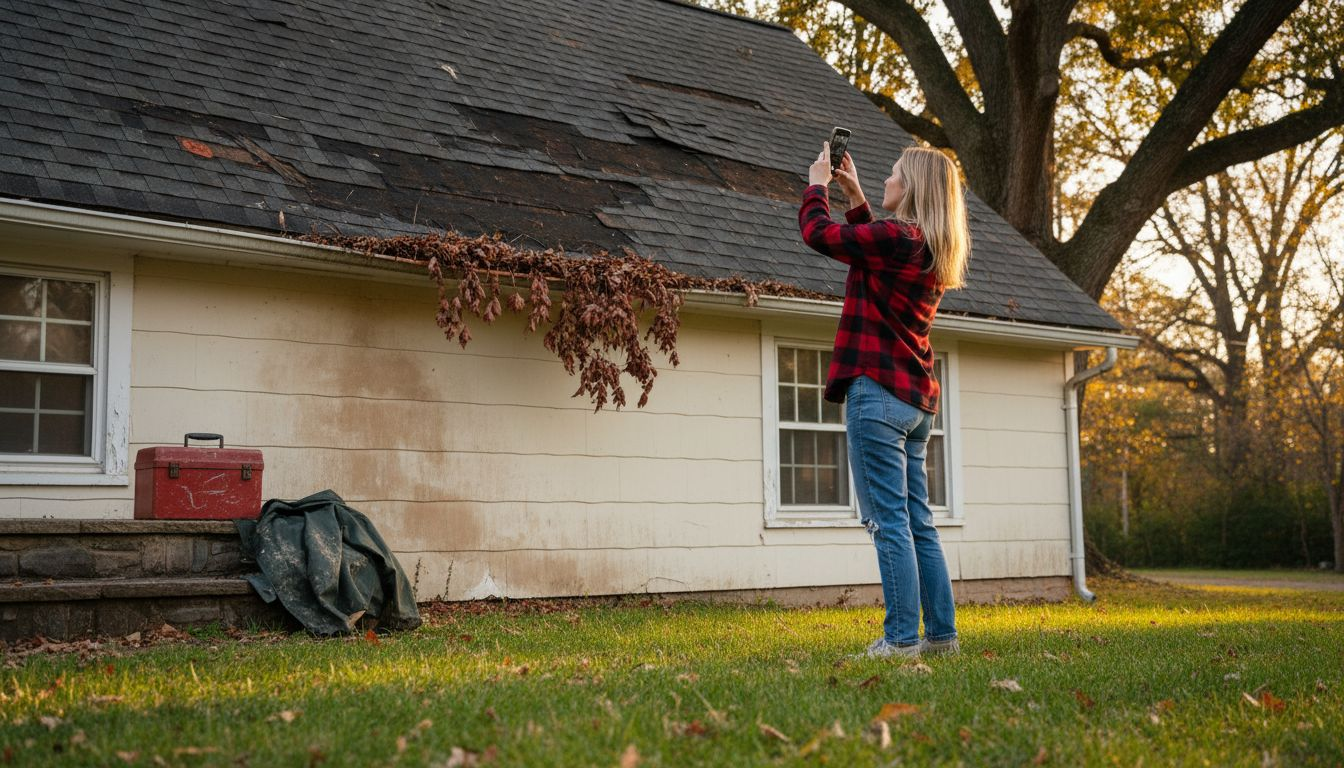
Evaluating roof damage requires careful investigation and strategic assessment to determine whether repairs or full replacement are necessary. The goal is to understand the extent of potential storm or weather-related damage, which can often be complex and not immediately visible to an untrained eye.
To effectively assess your roof’s condition, start by conducting a comprehensive visual inspection. Walk around your property’s exterior and look for key indicators of damage. These include:
- Missing or curling shingles
- Dark streaks or stains
- Granule accumulation in gutters
- Visible cracks or breaks in roofing material
- Sagging or uneven roof surfaces
For a thorough evaluation, experts recommend professional storm damage assessments that uncover both obvious and hidden issues. Certified inspectors provide detailed reports with photographic evidence, helping homeowners understand the full scope of potential damage.
Consider scheduling a professional inspection, especially after significant weather events. Trained roofing professionals can identify subtle damage that might compromise your roof’s integrity and prevent more expensive repairs down the line.
Critical insight: Early detection of roof damage can save thousands in potential repair costs and prevent long-term structural issues.
Pro tip: Take clear, dated photographs during your initial inspection to document existing damage for potential insurance claims and future reference.
Step 2: Select roofing materials and options
Selecting the right roofing materials is a critical decision that impacts your home’s protection, appearance, and long-term value. Roofing material options range dramatically depending on factors like climate, budget, architectural style, and performance requirements.
Your primary roofing material choices typically include:
- Asphalt shingles: Most affordable and widely used
- Metal roofing: Excellent durability and energy efficiency
- Slate tiles: Premium aesthetic with exceptional longevity
- Wood shakes: Traditional, natural appearance
- Synthetic materials: Modern alternatives with specialized benefits
Consider key factors when making your selection:
- Local weather conditions and climate resilience
- Home’s architectural design
- Budget constraints
- Long-term maintenance requirements
- Energy efficiency potential
Homeowners should analyze their specific needs carefully. Some materials perform better in certain environments – for instance, metal roofing might excel in areas with heavy snowfall, while asphalt shingles work well in moderate climates.
Here’s a quick comparison of common roofing materials:
| Material | Average Lifespan | Climate Suitability | Maintenance Needs |
|---|---|---|---|
| Asphalt Shingles | 15-30 years | Moderate climates | Low maintenance |
| Metal Roofing | 40-70 years | Snow, rain, wind | Minimal upkeep |
| Slate Tiles | 50-100+ years | All climates | Rare maintenance |
| Wood Shakes | 20-40 years | Dry regions | Regular care |
| Synthetic | 20-50 years | All climates | Low maintenance |
Critical insight: Your roofing material is more than aesthetic – it’s a long-term investment in your home’s structural integrity and protection.
Pro tip: Request material samples and consult with professional roofers to understand how different materials perform in your specific regional climate.
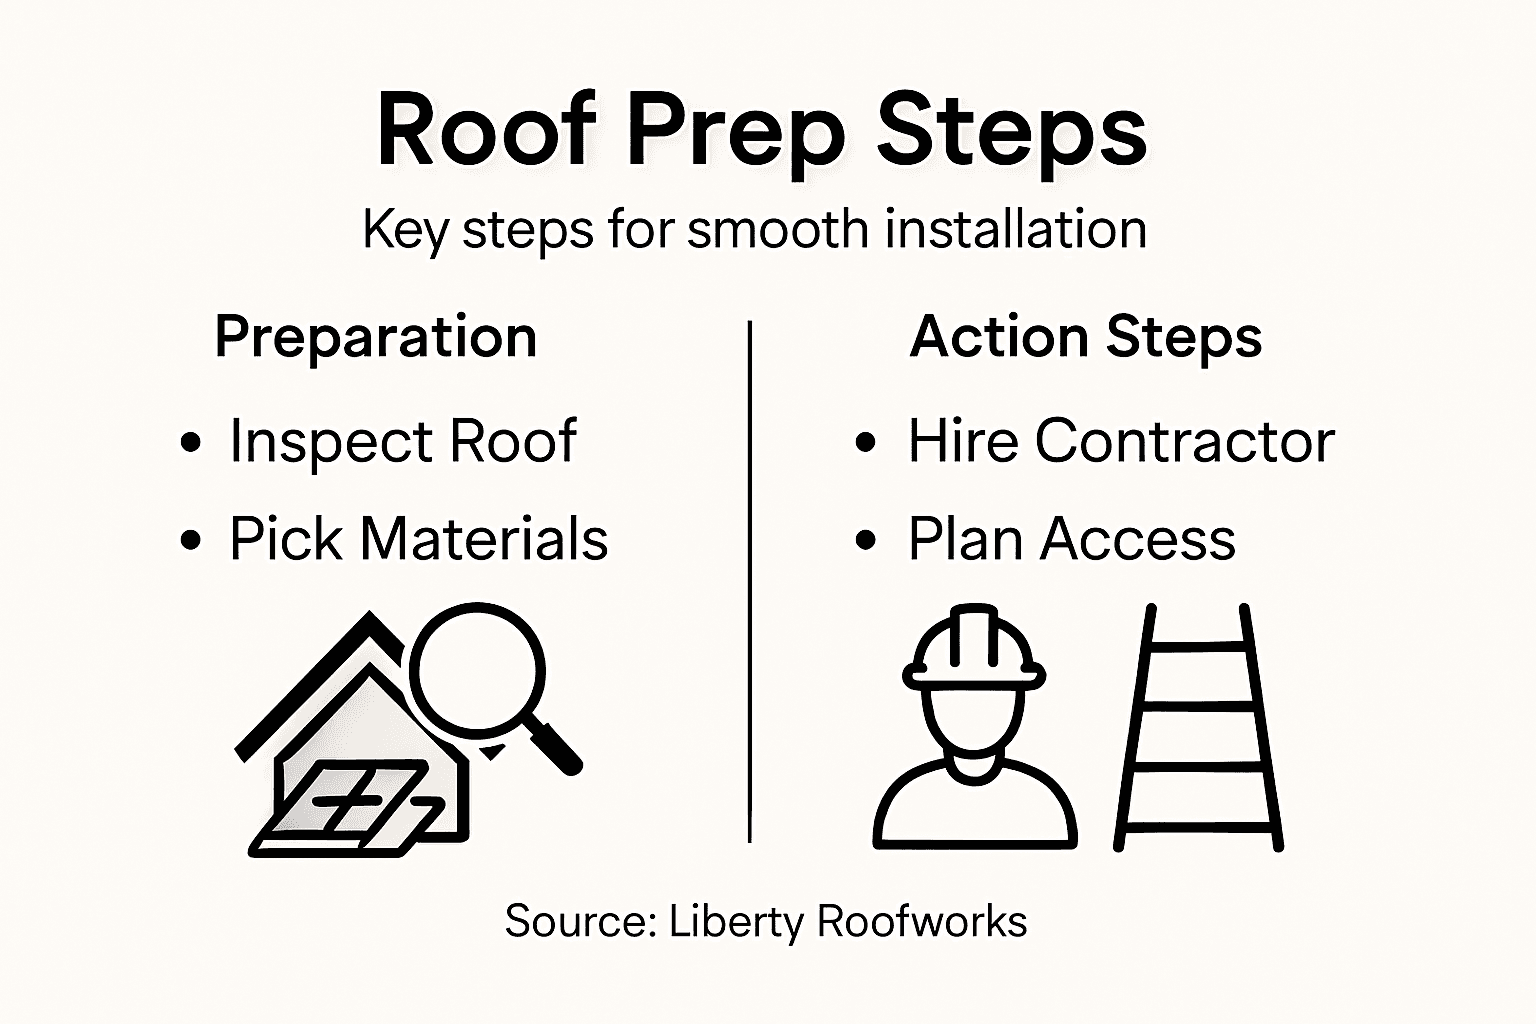
Step 3: Hire a trusted roofing contractor
Selecting the right roofing contractor is crucial to ensuring a successful roof installation that protects your home and provides long-lasting value. Verifying contractor credentials is the first step in protecting yourself from potential scams and subpar workmanship.
When searching for a reliable roofing contractor, focus on these key evaluation criteria:
- Licensing and insurance verification
- Positive local reputation and reviews
- Proven experience in your specific roofing project
- Transparent pricing and detailed written estimates
- Professional communication and responsiveness
Your contractor selection process should include:
- Request multiple detailed bids from different contractors
- Check references and past project portfolios
- Verify current state licensing and insurance documentation
- Investigate the contractor’s standing with local business bureaus
- Confirm specialized certifications in roofing installation
Professional roofing contractors should demonstrate expertise beyond basic installation, understanding local building codes, weather challenges, and specific material requirements for your region.
Critical insight: A trustworthy contractor is not just selling a service, but providing a comprehensive solution to protect your home’s structural integrity.
Pro tip: Always request and thoroughly review a contractor’s comprehensive insurance documentation before signing any agreements.
Step 4: Organize site access and safety
Preparing your property for roof installation requires strategic planning to ensure smooth operations and minimize potential risks. Construction site safety protocols are critical for protecting both workers and your residential property during the roofing project.
Key preparations for site access and safety include:
- Clear communication with roofing team about property layout
- Identifying and marking potential hazard zones
- Protecting landscaping and exterior property features
- Establishing safe worker entry and exit points
- Creating designated material staging areas
Your site preparation checklist should involve:
- Remove vehicle parking near work zone
- Notify neighbors about upcoming construction
- Secure children and pets away from work area
- Mark underground utilities and sensitive landscape features
- Ensure clear pathways for equipment and material delivery
Professional roofing teams will typically conduct an initial site assessment to identify potential challenges and develop a comprehensive safety strategy tailored to your specific property conditions.
Critical insight: Thorough site preparation is not just about logistics – it’s about creating a safe, efficient environment for successful roof installation.
Pro tip: Take photographs of your property’s exterior before work begins to document existing conditions and protect yourself against potential accidental damage.
Step 5: Verify project details and timeline
Confirming the specifics of your roof installation project is crucial to ensuring a smooth, efficient process with minimal surprises. Roof installation requirements involve complex technical and regulatory considerations that demand careful review and understanding.
Key project verification elements include:
- Detailed written contract specifying all project parameters
- Comprehensive material specifications
- Exact project start and completion dates
- Specific work hours and daily schedule
- Payment schedule and milestones
Your project verification checklist should cover:
- Review and confirm material types and brands
- Understand warranty terms and conditions
- Verify contractor licensing and insurance details
- Confirm expected project duration
- Discuss contingency plans for potential weather delays
Professional roofing teams typically provide a comprehensive project overview that breaks down each stage of installation, helping you understand exactly what to expect throughout the process.
This table summarizes what to verify before roof installation begins:
| Verification Item | Why It Matters | Suggested Action |
|---|---|---|
| Written contract | Defines scope and payments | Review thoroughly |
| Material specifications | Ensures proper quality | Confirm choices |
| Contractor credentials | Guarantees expertise | Check documents |
| Project timeline | Prevents delays | Request details |
| Warranty terms | Protects your investment | Ask questions |
Critical insight: Thorough project verification is your best defense against misunderstandings and unexpected complications during roof installation.
Pro tip: Request a written project timeline with specific milestones and maintain open communication channels to track progress effectively.
Step 6: Inspect installation for quality
Carefully examining the final roof installation ensures that your investment meets professional standards and protects your home effectively. Professional roof inspections provide comprehensive documentation and identification of potential issues before they become costly problems.
Key quality inspection elements include:
- Precise material placement and alignment
- Proper sealing and flashing around roof penetrations
- Consistent shingle or roofing material overlaps
- Absence of visible gaps or potential water entry points
- Correct installation of underlayment and protective barriers
Your comprehensive inspection checklist should cover:
- Check overall roof surface evenness
- Verify proper nail placement and depth
- Examine all edge and perimeter details
- Confirm adequate ventilation installation
- Test for potential water drainage issues
Professional roofing teams typically welcome a collaborative final inspection, demonstrating confidence in their workmanship and commitment to customer satisfaction.
Critical insight: A thorough quality inspection is your final safeguard against potential future roofing complications.
Pro tip: Request detailed photographic documentation of the installation process to maintain a comprehensive record of your roof replacement.
Prepare for Your Roof Installation with Confidence and Expert Support
Preparing for a roof installation involves careful evaluation, selecting the right materials, and hiring trustworthy professionals as detailed in the article. At Liberty Roofworks, we understand the challenges homeowners face when organizing site access, verifying project timelines, and ensuring top-quality workmanship. Common pain points like managing unexpected delays, ensuring safety, and protecting your home’s investment are what we address every day.
Our experienced team is dedicated to providing personalized solutions from Residential Roof Repair & Replacements to full New Roof Installations. By choosing Liberty Roofworks, you benefit from expert guidance on selecting durable materials tailored to your climate and budget, professional installation meeting all safety protocols, and thorough final inspections to guarantee satisfaction.
Ready to make your roof installation stress-free and reliable? Visit us at Liberty Roofworks today to schedule a consultation. Let us help you protect your home with confidence and quality workmanship that stands the test of time.
Frequently Asked Questions
How do I evaluate my roof’s damage before installation?
To evaluate your roof’s damage, conduct a comprehensive visual inspection looking for missing or curling shingles, dark streaks, or sagging areas. Document your findings with clear photographs to assist in your assessment or when consulting with a professional.
What roofing materials should I consider for my home?
Consider materials like asphalt shingles for affordability, metal roofing for durability, or slate tiles for aesthetic appeal. Analyze your local climate and your budget before making a decision to ensure your choice meets your home’s needs.
How do I select a trustworthy roofing contractor?
To choose a reliable roofing contractor, verify their licensing and insurance, and review their local reputation and past work. Request multiple detailed bids to compare services and ensure you understand the scope of work before signing any agreements.
What preparations should I make for site access during roof installation?
Prepare your property for roof installation by clearing the area of vehicles, marking any potential hazards, and securing pets and children from the work zone. Designating a staging area for materials will also help keep the project organized and efficient.
How can I verify the project details and timeline before installation?
Verify project details by reviewing a detailed written contract that specifies the materials, timeline, and payment schedule. Discuss potential weather contingencies to avoid misunderstandings during the installation process.
What should I inspect after the roof installation is completed?
After the installation, inspect for proper material placement, flashing around penetrations, and even roof surfaces. Ensure there are no gaps that could lead to leaks, as a thorough inspection can help prevent future issues.
Recommended
- Roof Installation Guide: Complete Step-by-Step Process – Liberty Roofworks
- 7 Key Roof Installation Steps Every Homeowner Should Know – Liberty Roofworks
- How to Install New Roof: Step-by-Step Guide for Homeowners – Liberty Roofworks
- Asphalt Shingle Installation Guide: Master Your Roof in 2025 – Liberty Roofworks
- Concrete Solutions | Interlocking Etobico
