Replacing your roof can feel overwhelming but getting it right is one of the smartest investments you can make in your home. Not everyone realizes that even a single loose nail can cause thousands of dollars in water damage over time. Most people obsess over picking the perfect shingle color yet forget that prepping your workspace and checking safety gear matters even more. The secret to a smooth install? It actually starts long before you ever open your first bundle of shingles.
Table of Contents
- Step 1: Inspect Your Roof And Prepare The Area
- Step 2: Gather Necessary Tools And Materials
- Step 3: Remove Old Shingles And Underlayment
- Step 4: Install New Underlayment And Flashing
- Step 5: Lay Asphalt Shingles And Secure Them
- Step 6: Inspect Your Work And Perform Final Checks
Quick Summary
| Key Point | Explanation |
|---|---|
| 1. Inspect Roof for Damage | Examine for structural issues like rot, sagging, or water damage before starting. |
| 2. Gather Essential Tools | Collect all necessary safety gear and roofing tools to ensure a smooth installation. |
| 3. Remove Old Shingles Carefully | Strip existing shingles while preserving the integrity of the underlying deck. |
| 4. Install Quality Underlayment | Use high-quality underlayment to prevent moisture intrusion and enhance protection. |
| 5. Conduct Thorough Final Inspection | Verify shingle alignment and secure any loose areas before finishing the project. |
Step 1: Inspect Your Roof and Prepare the Area
Before launching into asphalt shingle installation, a thorough roof inspection and preparation are critical steps that can make or break your entire roofing project. Your goal in this initial phase is to assess the current roof condition, identify potential challenges, and create a clean workspace that sets the stage for a successful installation.
Start by carefully examining your roof’s existing surface. Look for signs of structural damage such as rotting wooden decking, sagging areas, or significant water damage. These issues must be addressed before new shingles can be installed. Use a sturdy ladder and take appropriate safety precautions when accessing your roof. Wear non-slip shoes and consider using a safety harness to prevent potential accidents during your inspection.
Preparing Your Workspace
Once you’ve completed the initial assessment, clear the roof of any debris, old roofing materials, and loose nails. This process requires patience and meticulous attention to detail. You’ll want to remove existing shingles carefully, ensuring you do not damage the underlying roof deck. Specialized roofing tools like a roofing shovel or pry bar will help you remove old materials efficiently. As you clear the surface, inspect the roof deck closely for any signs of moisture damage, mold, or structural weakness that might compromise your new shingle installation.
Prepare your work area by gathering all necessary tools and materials before starting. Essential equipment includes safety gear, measuring tape, chalk line, roofing hammer, utility knife, and protective tarps to cover landscaping and catch falling debris. Check out our guide on roof repair tips for additional insights into preparing your workspace effectively. By taking time to thoroughly inspect and prepare your roof, you’re setting the foundation for a durable, long-lasting roofing project that will protect your home for years to come.
Step 2: Gather Necessary Tools and Materials
Successful asphalt shingle installation hinges on having the right tools and materials prepared before you begin. This step is about creating a comprehensive toolkit that will streamline your roofing project and help you work efficiently and safely. Professional roofers understand that preparation reduces potential complications and ensures a smoother installation process.
Safety Equipment is Your First Priority. Before collecting specific roofing tools, invest in personal protective gear. This includes sturdy work boots with excellent traction, safety glasses, thick work gloves, and a reliable fall protection harness. Roofing involves working at height and handling sharp materials, so protecting yourself is non negotiable. Select a comfortable hard hat that meets current safety standards and consider wearing long pants and a long sleeved shirt to protect against potential scrapes and sun exposure.
Essential Roofing Tools and Materials
Your roofing toolkit will require several specialized instruments beyond basic safety gear. You will need a roofing hammer with a magnetic nail holder, a sturdy utility knife with extra blades, measuring tape, chalk line, roofing square, and a nail gun designed specifically for roofing applications. For material preparation, acquire roofing felt, starter strips, ridge caps, and high quality asphalt shingles matched to your specific roof measurements. Explore our roof repair tips for additional equipment insights to ensure you have everything needed. Consider renting specialized equipment like a pneumatic nail gun if you do not want to purchase one outright. Organize your tools in a sturdy toolbelt or nearby workspace to maintain efficiency during installation. Remember that having materials staged and readily accessible will significantly speed up your roofing project and reduce unnecessary interruptions.
Having the right tools and materials ready is essential for an efficient and safe asphalt shingle installation project. The table below summarizes key tools and materials along with their primary purposes and notes.
| Tool/Material | Purpose | Notes |
|---|---|---|
| Safety gear (boots, harness) | Personal protection on roof | Non-slip, meets current safety standards |
| Roofing hammer | Securing nails and removing old nails | Prefer magnetic nail holder type |
| Utility knife with blades | Cutting shingles and underlayment | Keep extra blades handy |
| Measuring tape | Accurate measurements for cuts and placements | Minimum 25-foot length recommended |
| Chalk line | Ensuring straight rows for shingles and underlayment | Helps maintain alignment |
| Roofing square | Ensures right angles and layout consistency | Useful for cuts and starter row |
| Nail gun | Fast, consistent shingle and underlayment fastening | Roofing-specific models preferred |
| Roofing felt (underlayment) | Moisture barrier under shingles | High quality for better protection |
| Asphalt shingles | Main weatherproof exterior layer | Match to specific roof measurements |
| Starter strips & ridge caps | Provides edge protection and ridge finishing | Increases wind resistance and sealing |
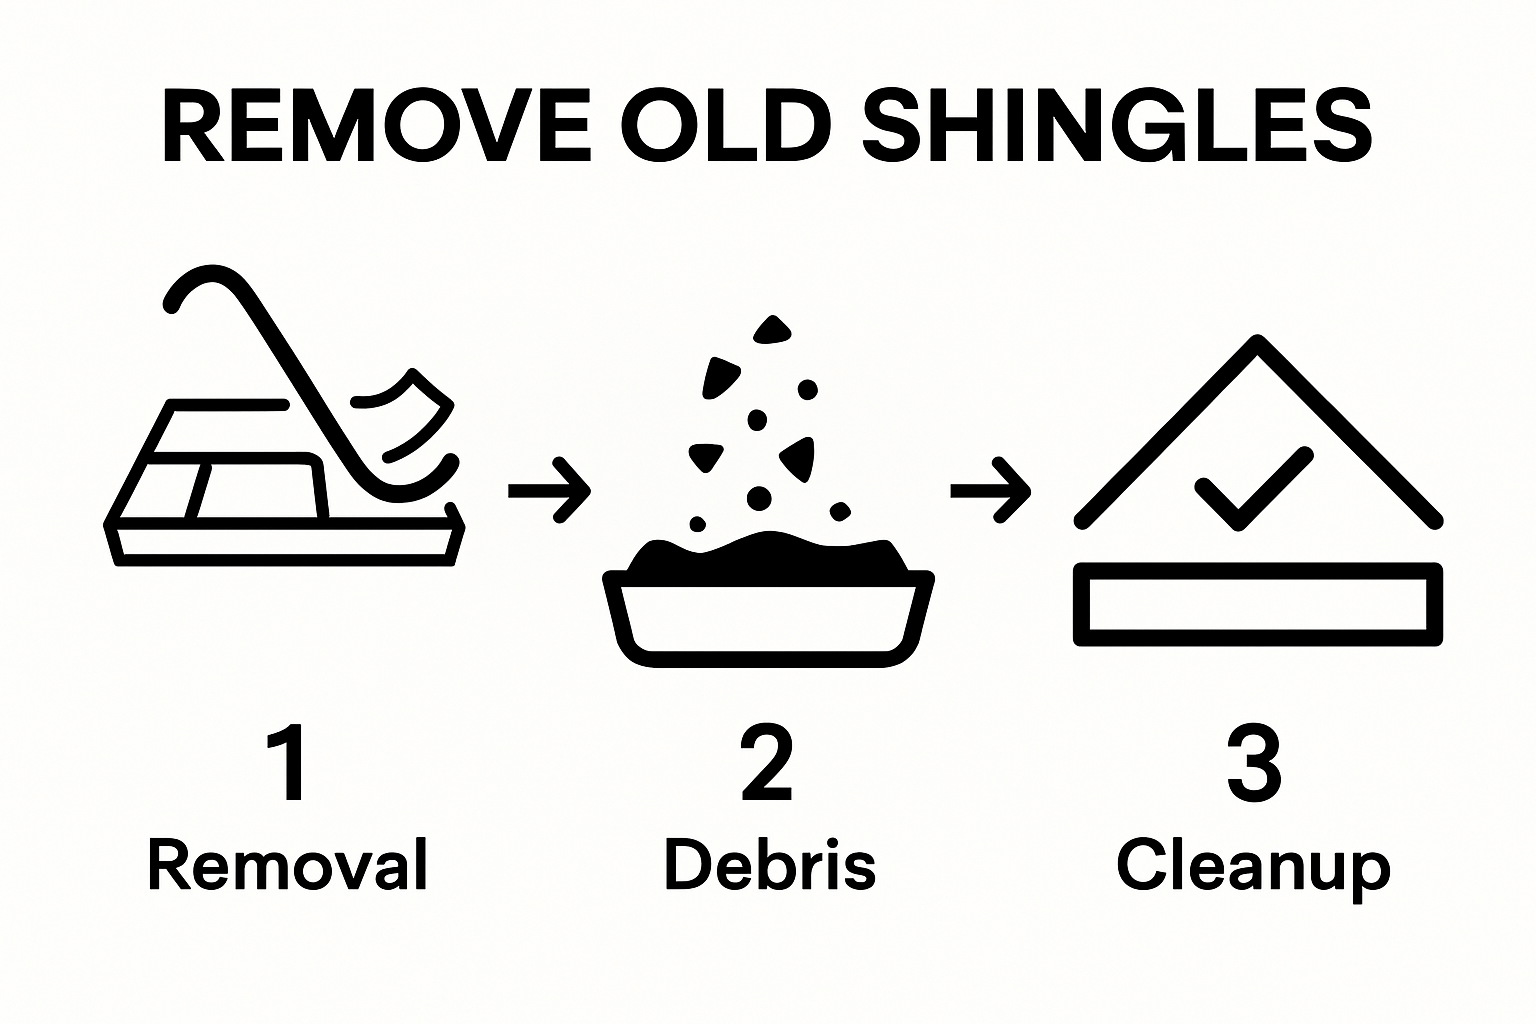
Step 3: Remove Old Shingles and Underlayment
Removing old shingles and underlayment is a critical step that requires precision, patience, and careful attention to detail. This process sets the foundation for a successful new roof installation by creating a clean, stable surface ready for fresh materials. The goal is to strip away damaged or aged roofing components without compromising the structural integrity of your roof deck.
Safety is paramount during shingle removal. Begin by setting up protective tarps around your property’s perimeter to catch falling debris and protect landscaping. Work systematically from the top ridge down, using a roofing shovel or specialized pry bar to lift and remove existing shingles. Start at the ridge cap and work downward, applying steady, even pressure to separate shingles without damaging the underlying roof deck. Pay special attention to areas around chimneys, vents, and other roof penetrations where materials might be more challenging to remove.
Preparing for Potential Challenges
As you remove old shingles, you may encounter unexpected issues like rotted wood, water damage, or multiple existing layers of roofing material. Learn more about roof replacement preparation to anticipate potential complications. Inspect the roof deck thoroughly after removing shingles, looking for soft spots, structural damage, or signs of moisture intrusion. Any compromised areas must be repaired or replaced before installing new underlayment and shingles. Use a hammer and wooden boards to test the deck’s structural integrity, replacing any damaged sections to ensure a solid foundation. Clean the roof deck meticulously, removing all old nails, staples, and debris to create a smooth surface that will support your new roofing system. This careful preparation will help prevent future issues and ensure a professional, long lasting roof installation.
Step 4: Install New Underlayment and Flashing
Installing new underlayment and flashing represents a critical barrier against water intrusion and potential structural damage. This step transforms your roof from a vulnerable surface into a robust, weather-resistant system that will protect your home for years to come. Proper installation requires precision, patience, and a methodical approach to ensure every inch of your roof deck receives comprehensive protection.
Begin with high quality roofing felt, starting at the lowest point of the roof and working upward. Unroll the underlayment horizontally, ensuring each row overlaps the previous one by at least 4 inches. Use roofing nails with plastic washers to secure the felt, placing them approximately 12 inches apart along the edges and in the center of the material. Pay special attention to creating smooth, wrinkle free surfaces that will provide a stable foundation for your shingles. Waterproof protection is your primary goal, so take time to carefully seal any potential entry points for moisture.
Flashing Installation Techniques
Flashing represents your roof’s critical defense against water penetration around chimneys, vents, skylights, and roof intersections. Cut metal flashing pieces to fit precisely around these architectural features, ensuring a tight seal that prevents water from seeping underneath. Learn more about comprehensive roof preparation to understand the nuances of proper flashing installation. Apply a generous bead of roofing sealant beneath each piece of metal flashing, creating an additional water resistant barrier. Use galvanized roofing nails to secure flashing, positioning them carefully to avoid creating unnecessary puncture points. When working around complex roof features, take extra time to cut and shape flashing pieces that create a seamless, overlapping barrier against potential water infiltration. Your goal is to create a continuous protective layer that channels water away from vulnerable roof structures.
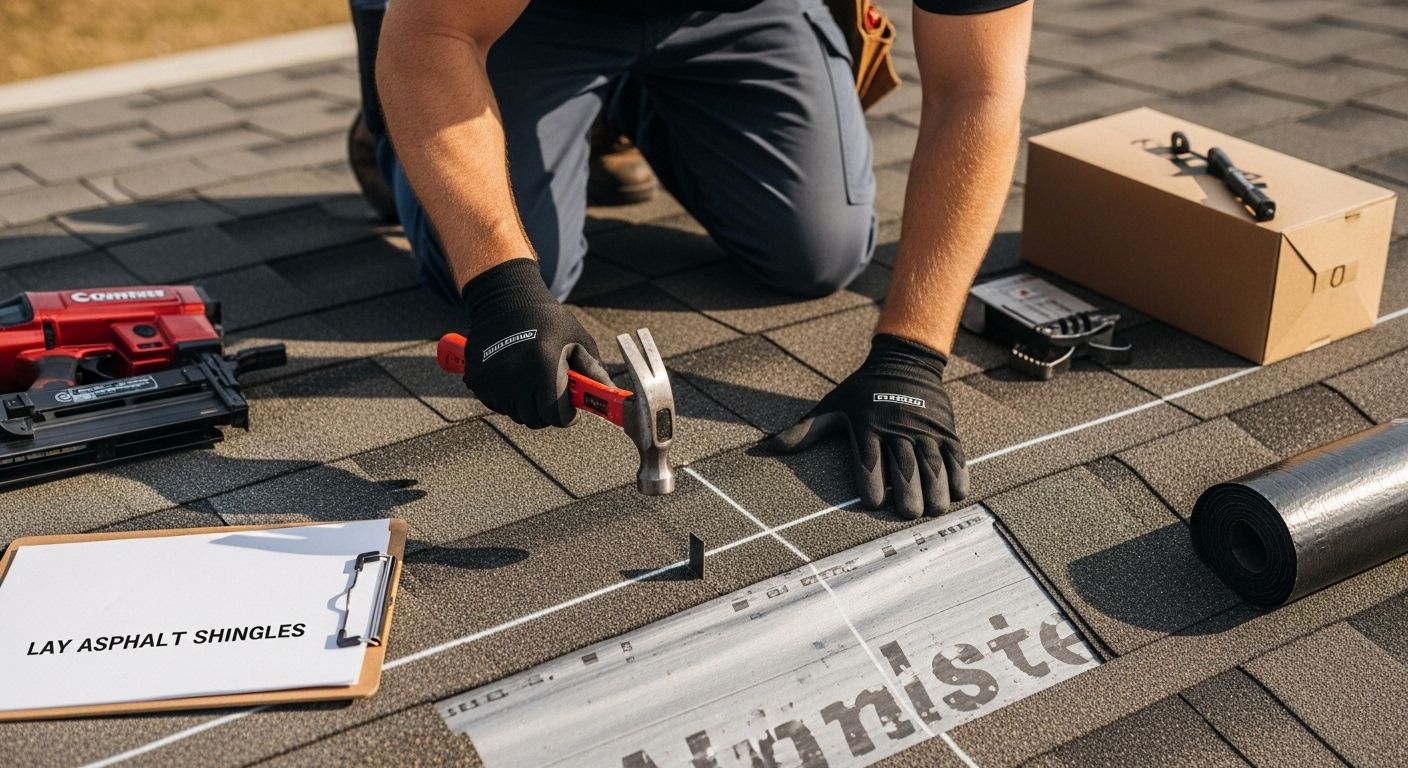
Step 5: Lay Asphalt Shingles and Secure Them
Laying asphalt shingles is a precise art that requires careful planning, attention to detail, and systematic execution. This critical step transforms your prepared roof deck into a weatherproof surface that will protect your home for years to come. The key is creating a consistent, overlapping pattern that channels water away from your roof’s vulnerable areas, ensuring maximum protection against moisture and environmental challenges.
Begin your shingle installation at the bottom edge of the roof, using starter strips designed to provide a solid foundation for your first row. Align these strips precisely along the roof’s edge, ensuring they are perfectly straight using a chalk line. Each subsequent row of shingles will overlap the previous one, creating a cascading water barrier. Position your first full shingle row with meticulous care, making certain it is perfectly level and aligned with the starter strip. Use roofing nails strategically, placing them in designated nail zones that manufacturers specify to maintain warranty coverage and optimal wind resistance.
Navigating Complex Roof Surfaces
As you progress up the roof, you will encounter more complex areas around chimneys, vents, and roof valleys that require special attention. Learn more about comprehensive roof preparation to understand these nuanced installation techniques. Cut shingles carefully to fit around these architectural features, ensuring tight, clean edges that prevent water infiltration. Use roofing cement sparingly but effectively to seal any potential gaps, creating an additional barrier against moisture. Work methodically, maintaining consistent horizontal alignment and ensuring each shingle is securely fastened. Your goal is to create a uniform surface that not only looks professional but provides robust protection against wind, rain, and other environmental challenges. Take your time during this process, knowing that each carefully placed shingle contributes to your roof’s long term durability and performance.
Step 6: Inspect Your Work and Perform Final Checks
The final inspection is your opportunity to validate the quality and precision of your asphalt shingle installation. This critical step transforms your hard work into a professional roofing system that will protect your home against environmental challenges. A thorough examination ensures that every detail meets professional standards and manufacturer specifications, preventing potential future issues that could compromise your roof’s integrity.
Begin your inspection from ground level, using binoculars to get a comprehensive view of your entire roof surface. Look for consistent shingle alignment, uniform overlap, and any areas that appear uneven or misaligned. Pay special attention to roof edges, ridges, and valleys where water flow and wind resistance are most critical. Move closer for a detailed examination, walking the roof carefully and checking each section methodically. Feel for any raised or loose shingles, and verify that nail heads are properly seated without protruding or creating potential water entry points.
Addressing Potential Imperfections
During your final inspection, identify and immediately correct any minor issues you discover. Look for small gaps, uneven shingle edges, or areas where sealant might be needed. Explore our guide on comprehensive roof preparation for additional insights into quality control. Use roofing cement sparingly to seal any potential weak points, ensuring a watertight finish. Document your work with photographs from multiple angles, creating a visual record that can be useful for future maintenance or potential warranty claims. Your goal is not just completion, but creating a roof installation that demonstrates professional craftsmanship and provides reliable protection for years to come.
To help you track your progress and ensure quality, use the following checklist before considering your asphalt shingle roofing project complete. Confirm each step to guarantee professional, lasting results.
| Inspection/Completion Task | What to Check For | Completed (Yes/No) |
|---|---|---|
| Structural deck soundness | No rot, soft spots, or structural weakness | |
| Surface cleanliness | All debris, old nails, and old materials removed | |
| Underlayment installation | Overlaps correct, edges smooth, no gaps or wrinkles | |
| Flashing placement | Tightly sealed and secured around penetrations | |
| Shingle alignment | Rows straight, correct overlap, uniform appearance | |
| Nail placement | Proper zones used, nail heads seated but not overdriven | |
| Gap & edge sealing | Small gaps and cut edges sealed with roofing cement | |
| Final inspection completed | Walk entire roof and view from ground for inconsistencies |
Get a Perfect Asphalt Shingle Roof – Leave the Hard Work to Liberty Roofworks
After reading our guide on asphalt shingle installation, you might be feeling the pressure of getting every step right. Careful inspection, safe shingle removal, precise material placement, and flawless finishing are tough—even for homeowners who enjoy serious DIY projects. One miscalculation can lead to leaks, structural damage, or major energy loss. If you want a roof that truly stands up to Charlotte’s unpredictable weather, expert installation and peace of mind are absolute necessities.
Let our professionals handle every detail for you. We offer full-service residential and commercial asphalt shingle roofing and roof repairs, so you do not have to worry about missing a step or compromising on quality. As a local favorite, Liberty Roofworks is committed to making your project stress-free and your results long-lasting. Do not risk costly mistakes or future headaches. Visit Liberty Roofworks today and request your free consultation. Now is the best time to secure lasting protection for your home.
Frequently Asked Questions
What are the essential tools needed for asphalt shingle installation?
You will need safety gear, a roofing hammer, a utility knife, measuring tape, a chalk line, roofing square, a nail gun, and roofing felt along with the asphalt shingles, starter strips, and ridge caps.
How do I prepare my roof before installing new asphalt shingles?
Inspect your roof for damage, remove old shingles and underlayment, and ensure the roof deck is clean and stable. Clear any debris and check for moisture damage or structural weaknesses.
What is the purpose of underlayment in asphalt shingle installation?
Underlayment acts as an additional layer of protection against moisture, providing a barrier that helps prevent leaks and protects the roof deck from water intrusion.
How do I ensure my asphalt shingles are installed correctly?
Follow a systematic installation process, aligning shingles properly, using the correct nail placement, and ensuring all seams overlap adequately. A thorough inspection after installation is also crucial to identify any issues.
