Severe storms cause over $1 billion in roof damage every year across the United States. The aftermath can leave homeowners feeling anxious and unsure about where to begin. Knowing how to respond in those first critical moments makes all the difference for both your safety and your property. This guide offers clear steps to help you act quickly, protect your home, and avoid costly mistakes.
Quick Summary
| Key Point | Explanation |
|---|---|
| 1. Prioritize safety before inspecting damage | Always assess roof damage from the ground, avoiding climbing onto compromised areas to prevent personal injury. |
| 2. Assemble an emergency repair kit | Gather tarps, wood planks, nails, and sealants to quickly stabilize the roof and prevent further damage. |
| 3. Monitor and document temporary repairs | Take clear photos of all temporary fixes for insurance claims and to assist professionals during evaluations. |
| 4. Use specialized sealants for leaks | Apply rubberized mastics to leaking areas to temporarily stop water penetration until permanent repairs can be made. |
| 5. Contact professionals for thorough assessment | After temporary repairs, reach out to licensed roofers to evaluate and address any needed permanent solutions. |
Table of Contents
- Step 1: Assess Damage And Ensure Safety
- Step 2: Gather Essential Repair Materials
- Step 3: Apply Temporary Waterproof Covers
- Step 4: Seal And Patch Leaking Areas
- Step 5: Inspect Repairs And Prevent Future Issues
Step 1: Assess Damage and Ensure Safety
When emergency roof damage strikes, your first priority is safety. This step will guide you through carefully evaluating your roof’s condition without putting yourself at unnecessary risk.
First and foremost, never risk your personal safety by climbing onto a compromised roof. According to experts at Deschutes Roofing, you should inspect damage from the ground using binoculars. Look for telltale signs that demand immediate professional intervention: large holes, significant sagging, exposed electrical wires, or areas where structural integrity seems severely compromised.
If you observe any of these warning signs, evacuate the area immediately. Your life and the safety of your family or colleagues matter more than any property damage. Consider staying with friends or family until professional roofers can assess the full extent of the damage.
Pro Tip: Take clear photographs of the damage from multiple angles while staying at a safe distance. These images will be crucial for insurance documentation and helping roofing professionals understand the scope of repairs needed.
Once you’ve ensured personal safety, the next step is temporary stabilization. According to recommendations from The Dedicated House, use tarps or wooden boards to cover exposed areas and prevent further water intrusion or structural damage. However, remember that these are interim solutions designed to minimize additional problems until professional repairs can be completed.
In the next phase, you’ll be preparing documentation and contacting professional roofing services to get a comprehensive assessment and repair plan. Stay calm, methodical, and prioritize safety above all else.
Step 2: Gather Essential Repair Materials
Now that you have assessed the damage safely, it is time to prepare the right materials for temporary roof stabilization. Your goal is to quickly assemble an emergency repair kit that will help minimize further damage until professionals can provide a permanent solution.
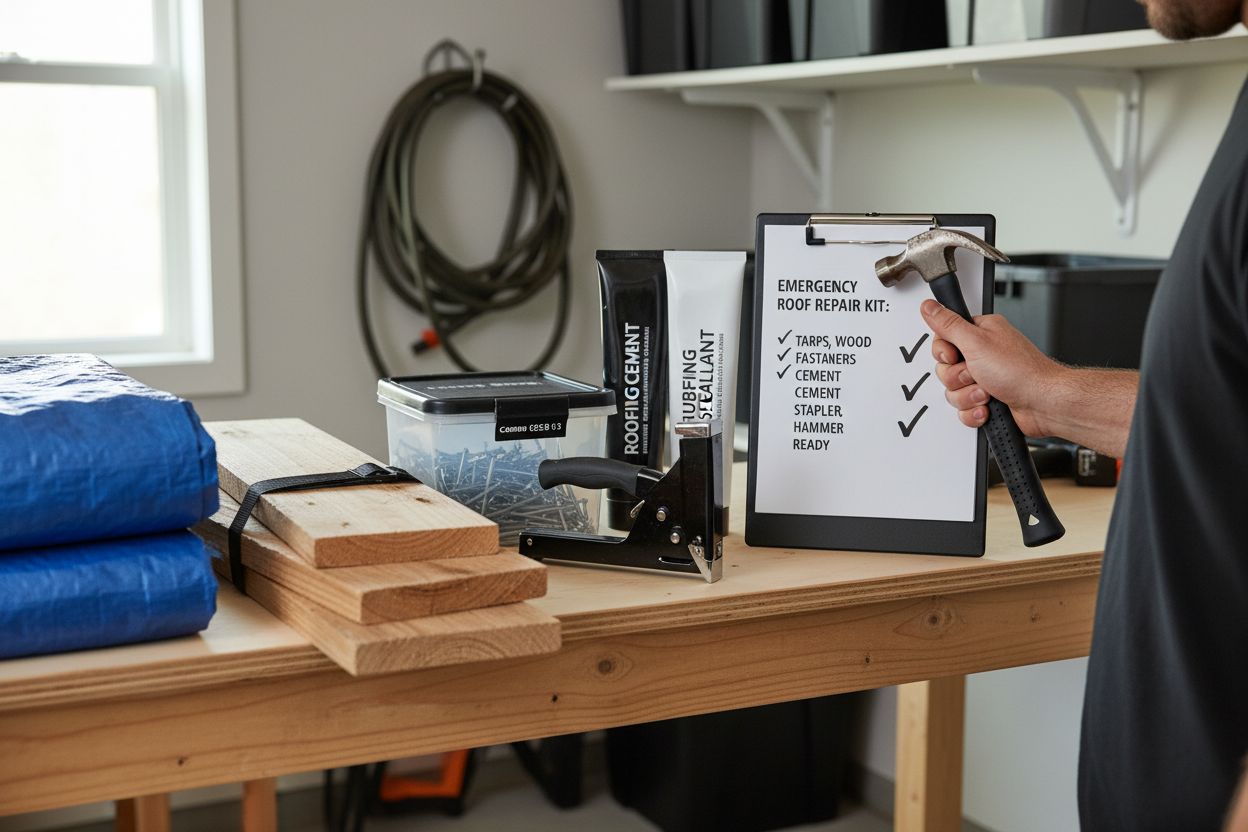
According to experts at Eagle Watch Roofing, your emergency repair kit should include several key items. Start by gathering heavy-duty waterproof tarps that can effectively cover damaged areas and prevent water intrusion. You will also want wood planks to provide additional structural support, roofing nails or screws for securing materials, and roofing cement or sealant to address minor leaks and gaps.
As recommended by Apex Roofing Solutions, make sure your toolkit includes a few essential tools. A sturdy hammer or staple gun will help you quickly secure tarps and temporary patches. Exterior-grade sealant is crucial for stopping immediate water penetration and preventing further interior damage.
Pro Tip: Store your emergency roof repair kit in an easily accessible location. Consider keeping it in a garage or storage area where you can quickly grab it during urgent situations.
Remember that these materials are temporary solutions designed to protect your property until professional roofers can perform comprehensive repairs. The next step involves carefully applying these materials to minimize additional damage and secure the affected roof areas.
Step 3: Apply Temporary Waterproof Covers
With your emergency repair materials ready, it is time to protect your roof from further water damage. This critical step involves carefully covering damaged areas to prevent additional structural issues while you wait for professional repairs.
According to Eagle Watch Roofing, the key is to cover the damaged area with a tarp that extends several feet beyond the visible damage. This approach ensures comprehensive protection. Start by laying out your heavy-duty waterproof tarp, making sure it completely covers the compromised section with extra material overlapping the edges.
Secure the tarp using wood planks and roofing nails or screws. Place the wood planks along the tarp edges and nail them down firmly to create a tight seal that can withstand wind and potential precipitation. Research from Americover suggests that some commercial temporary roof covers can protect your property for three to four months, giving you flexibility in scheduling permanent repairs.
Pro Tip: Work carefully and avoid walking directly on damaged roof areas. If possible, use a ladder and work from the edges to minimize additional stress on weakened sections.
Once you have successfully covered the damaged area, you will need to monitor the temporary fix and prepare for professional evaluation. The next step involves documenting the damage and contacting a professional roofing service to assess and plan comprehensive repairs.
Step 4: Seal and Patch Leaking Areas
With your temporary cover in place, the next critical step is addressing specific leaking areas to prevent water from causing further damage to your roof and home. This stage requires careful application of specialized sealants to temporarily stop water penetration.
According to experts at Eco Roof Systems, rubberized mastics like Leak Stopper Rubber Flexx Sealant are exceptional for emergency repairs. These advanced sealants have remarkable properties: they adhere to wet surfaces, remain flexible across temperature variations, and create watertight seals even during active leaks.
As recommended by HomeAdvisor, start by identifying leak points around flashing or damaged shingles. Use a roofing cement or mastic with a trowel to seal these areas. When working around shingles, gently lift the damaged section, apply sealant underneath, and then carefully flatten it back down. Remember this is a temporary measure designed to buy you time until professional repairs can be completed.
Pro Tip: Work slowly and methodically. Rushing can cause additional damage or create uneven sealant application that might compromise your temporary repair.
Your next step will involve documenting these temporary repairs and preparing to contact professional roofing services for a comprehensive assessment and permanent solution. Stay patient and prioritize preventing further water intrusion.
Here’s a comparison of the recommended emergency roof repair materials and their main uses:
| Material/Tool | Main Purpose | Notes |
|---|---|---|
| Heavy-duty tarps | Cover damaged areas | Waterproof, temporary solution |
| Wood planks | Structural support, secure tarps | Placed along tarp edges |
| Roofing nails/screws | Fasten tarps and wood planks | Ensure firm attachment |
| Roofing cement/sealant | Seal minor leaks and gaps | Apply with trowel |
| Hammer/staple gun | Tool for securing materials | Essential in emergency kits |
| Exterior-grade sealant | Stop water penetration | Temporary measure |
Step 5: Inspect Repairs and Prevent Future Issues
Your emergency roof repair journey is nearly complete. This final step involves carefully documenting your temporary repairs and preparing for professional assessment to ensure long-term roof integrity and prevent future damage.
According to experts at The Dedicated House, your next critical move is to contact licensed and insured emergency roofing professionals. Carefully document all temporary repairs you have completed, as this documentation will be crucial for both insurance claims and professional repair evaluations.
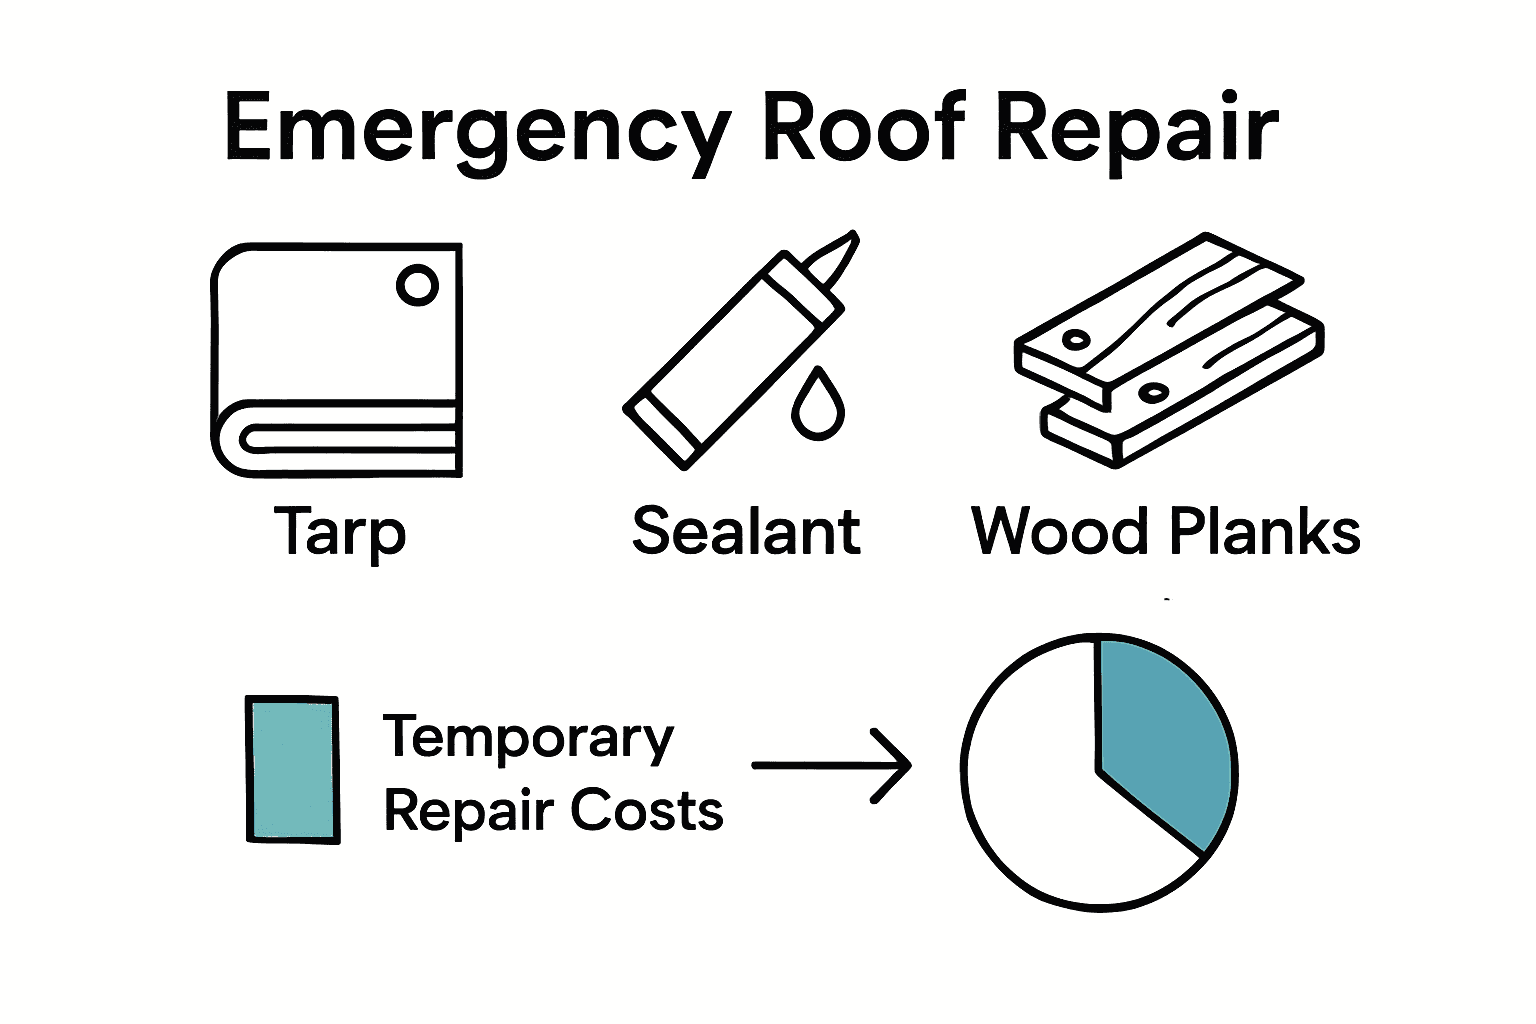
Research from Protect Preserve Roofing reveals that repair costs can vary dramatically. Minor repairs might range from $150 to $400, while full roof replacements can exceed $7,500. This means your temporary fix is just the beginning. A professional assessment will help you understand whether you need a simple repair or a more comprehensive solution.
Pro Tip: Take clear, dated photographs of your temporary repairs from multiple angles. These images provide valuable evidence of your proactive approach and can help professionals understand the extent of damage.
Moving forward, you will want to learn more about preventative roofing maintenance to reduce the likelihood of future emergency repairs. Professional roofers can provide a comprehensive evaluation and recommend strategies to protect your roof from potential future damage.
Restore Your Roof with Certified Emergency Repair Experts
After reading about emergency roof repair methods for fast results, you already know how urgent it is to stop leaks and protect your home or business. Trying to handle water damage, temporary patches, and leak sealing on your own can be overwhelming. You deserve lasting results and peace of mind instead of another stressful night worrying about your roof. At Liberty Roofworks, we specialize in transforming temporary fixes into long-term solutions for homeowners and business owners throughout Charlotte, NC. Whether you have storm damage, a sudden leak, or need a full replacement, our team acts quickly and safely to prevent further issues.
Do not wait for the next rainstorm to test your emergency repairs. Contact Liberty Roofworks for a reliable inspection and discover how fast we can make your property secure again. If you are interested in learning more about ways to prevent future emergencies, check out our guide to preventative roofing maintenance. Act now to avoid extra damage and unexpected costs. Your recovery starts today with Charlotte’s trusted emergency roofing professionals.
Frequently Asked Questions
What are the first steps in emergency roof repair methods?
Start by assessing the damage safely from the ground using binoculars. Look for major issues like large holes, sagging, or exposed wires, and avoid climbing onto the roof.
How can I temporarily stabilize my roof after damage?
Use heavy-duty waterproof tarps and wood planks to cover the damaged areas and prevent further water intrusion. Secure the tarp with roofing nails or screws, ensuring it extends several feet beyond the visible damage for effective coverage.
What materials do I need for emergency roof repairs?
Gather heavy-duty tarps, wood planks, roofing nails or screws, and roofing cement or sealant for quick temporary fixes. Having these materials ready can help minimize further damage until professional help arrives.
How do I apply temporary waterproof covers to my roof?
Lay the tarp over the damaged area, ensuring it overlaps the edges of the damage. Secure it tightly with wood planks and nails or screws to prevent it from blowing away or letting water through.
What should I do if I notice a leak after repairs?
Apply roofing cement or a rubberized mastic to seal specific leaking areas effectively. Focus on points around flashing or damaged shingles to create watertight seals until a professional can provide a permanent solution.
How can I prepare for a professional roofing assessment after temporary repairs?
Document all temporary repairs with clear photographs and notes, as these will be essential for insurance claims and professional evaluations. Organize this information to streamline the process when contacting roofing professionals.
