More than one in four American homes experience roof damage from storms each year, leaving many Charlotte homeowners with anxiety and urgent repair needs. Quick action can mean the difference between a manageable fix and serious property loss. If your roof recently took a hit, this guide explains the immediate steps to inspect, protect, and document damage—so you can prevent further harm before calling a local expert.
Table of Contents
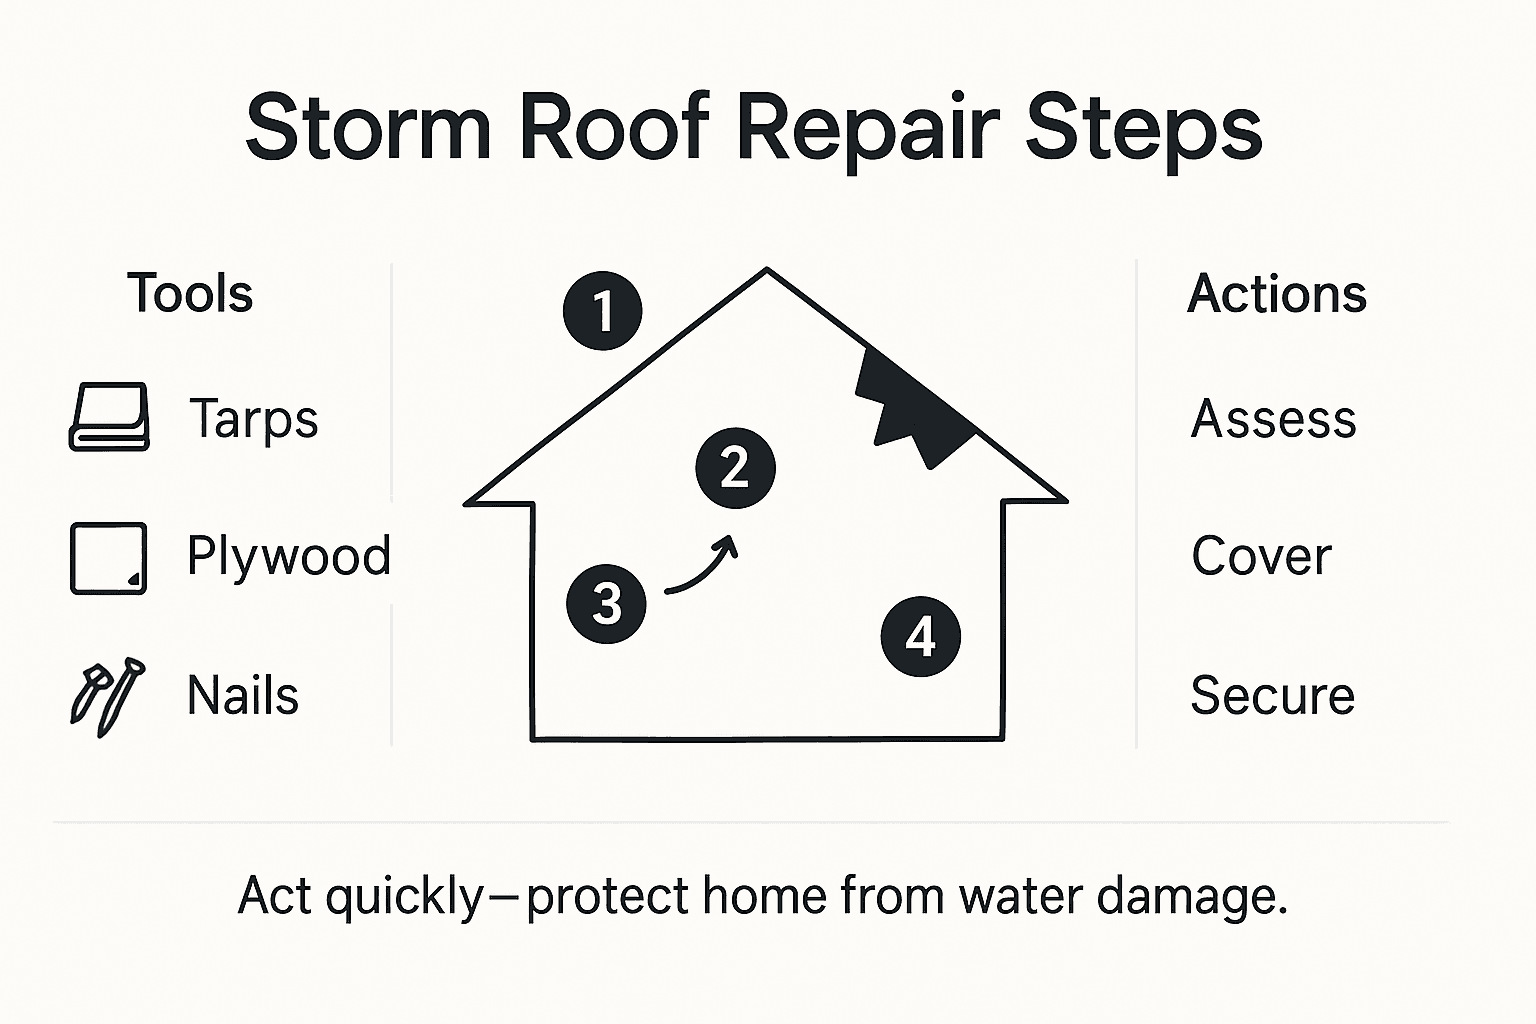
- Step 1: Assess Roof Damage Safely And Quickly
- Step 2: Gather Essential Emergency Repair Materials
- Step 3: Stop Active Leaks With Temporary Coverings
- Step 4: Secure Damaged Areas To Prevent Further Loss
- Step 5: Inspect Your Repair For Safety And Effectiveness
Quick Summary
| Key Point | Explanation |
|---|---|
| 1. Prioritize personal safety during inspection | Conduct initial assessments from the ground. Avoid climbing on damaged roofs to prevent injury. |
| 2. Assemble an emergency repair kit | Gather essential materials like tarps, plywood, and safety gear in advance for quick access after storm damage. |
| 3. Use tarps to stop active leaks | Quickly cover leaks with heavy duty tarps, ensuring complete coverage and secure fastening to prevent water infiltration. |
| 4. Secure damaged areas to prevent further loss | Identify and stabilize loose roofing materials to minimize further damage from wind and rain until repairs can be made. |
| 5. Inspect repairs for effectiveness | After temporary fixes, check for stability and new leaks to ensure protection against additional water damage before permanent repairs. |
Step 1: Assess roof damage safely and quickly
After a severe storm, safely inspecting your roof is crucial for preventing further damage and understanding potential repair needs. Your first priority should be personal safety, which means carefully evaluating the roof without taking unnecessary risks.
Start by conducting an initial ground level assessment, looking for obvious signs of damage such as fallen tree branches, missing shingles, or debris scattered around your property. Critical damage indicators can be quickly identified using professional inspection protocols, which recommend examining both exterior and interior spaces for potential issues. Check your attic and ceiling for water stains, which might indicate roof leaks that are not immediately visible from outside.
If you notice significant damage or feel uncertain about the extent of storm impact, do not climb onto the roof yourself. Professional roofers have the training and equipment to conduct safe, comprehensive assessments. Documenting storm damage thoroughly with photos and videos is recommended by emergency management experts to support potential insurance claims and track repair needs.
Pro tip: Always keep a safe distance from damaged areas and never attempt roof inspection during active storm conditions or if electrical lines are compromised.
Compare these common roof damage indicators by inspection location:
| Inspection Area | Potential Damage Indicators | Risk Level |
|---|---|---|
| Exterior | Missing shingles, debris, impact marks | High (visible threats) |
| Interior | Water stains, leaks, sagging ceilings | Moderate (hidden hazards) |
| Attic | Moisture, mold, damaged insulation | Moderate (progressive risk) |
Step 2: Gather essential emergency repair materials
When storm damage strikes your roof, having the right materials on hand can mean the difference between minimizing and preventing further destruction. Your goal in this step is to quickly assemble a comprehensive emergency repair kit that will help you temporarily secure your roof and protect your home from additional water damage.
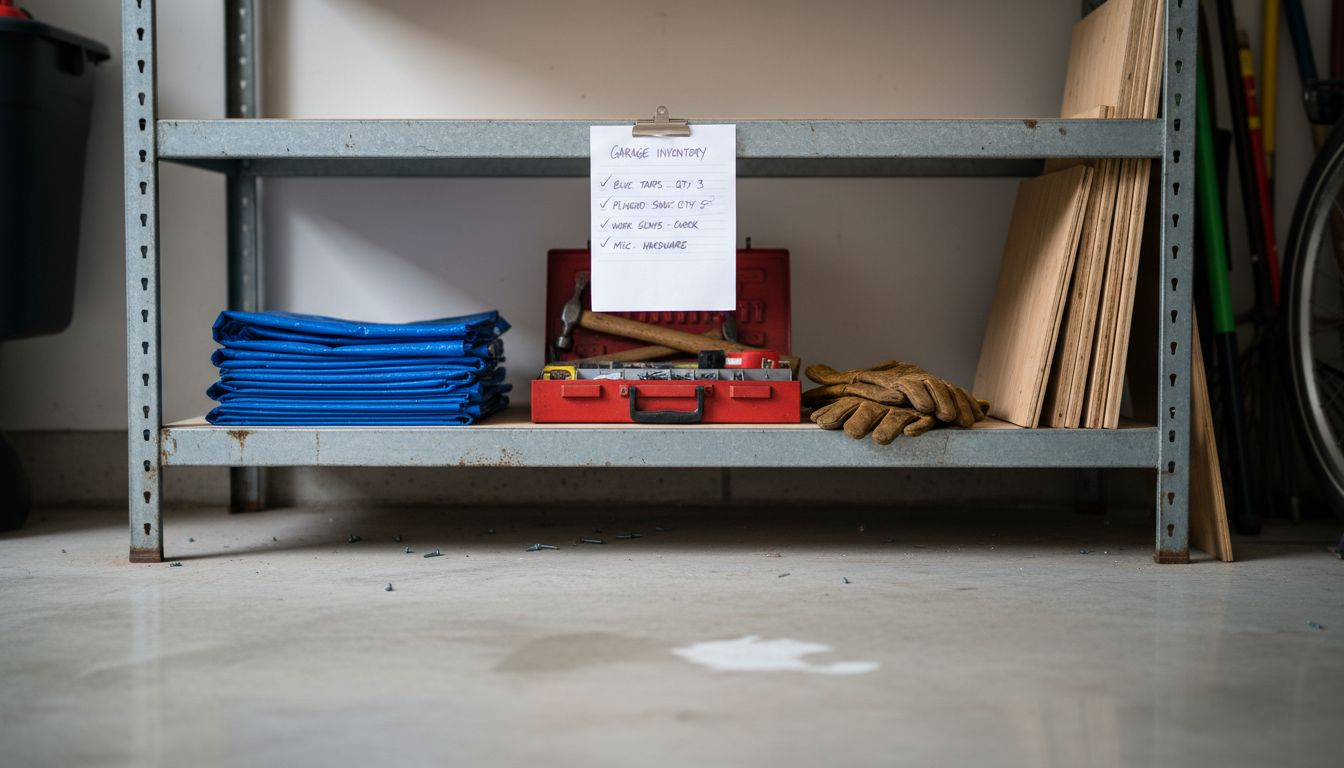
Emergency repair materials recommended by disaster relief experts typically include heavy duty tarps, plywood sheets, plastic sheeting, roofing nails, hammer, utility knife, measuring tape, and protective safety gear like work gloves and sturdy shoes. FEMA guidelines emphasize the importance of gathering these supplies immediately after initial damage assessment, ensuring you can act quickly to prevent water infiltration and structural compromise.
Organize your emergency repair materials in a readily accessible location, keeping them dry and protected from potential weather conditions. Consider storing these supplies in a waterproof container in your garage or shed, allowing for rapid deployment when unexpected storm damage occurs. Remember that these are temporary solutions designed to provide immediate protection until professional roofing repair can be completed.
Pro tip: Create a dedicated emergency roof repair kit before storm season and include a waterproof checklist of materials to ensure you have everything necessary for quick action.
Here’s a summary of key emergency roof materials and their purpose:
| Material | Primary Use | Additional Benefit |
|---|---|---|
| Heavy duty tarps | Temporary leak coverage | Blocks UV and rainfall |
| Plywood sheets | Reinforce damaged sections | Adds structural support |
| Roofing nails | Secure repair materials | Prevents material shifting |
| Utility knife | Cut tarp/plastic and shingles | Provides quick adjustments |
| Safety gear | Personal protection | Reduces injury risk |
Step 3: Stop active leaks with temporary coverings
Addressing active roof leaks quickly is critical to preventing extensive water damage and protecting your home’s interior. Your primary objective is to create a temporary barrier that stops water infiltration and minimizes potential structural harm.
Disaster relief experts recommend using heavy duty plastic tarps as an immediate solution for stopping roof leaks. Carefully position the tarp over the damaged area, ensuring complete coverage of the leak zone. Secure the tarp using roofing nails or heavy duty staples, making certain to overlap edges by at least 4 inches to create a watertight seal. FEMA guidelines emphasize the importance of thorough coverage to prevent additional water damage and potential health risks like mold growth.
When applying the temporary covering, work methodically and avoid walking directly on damaged roof areas. If possible, attach the tarp from a ladder or stable platform, using wooden boards to distribute weight and prevent further roof damage. Remember that this is a short term solution designed to protect your home until professional roofing repair can be completed.
Pro tip: Always have multiple tarps and securing materials prepared in advance, as storm damage can create multiple leak points requiring immediate attention.
Step 4: Secure damaged areas to prevent further loss
After temporarily stopping active leaks, your next critical task is stabilizing and protecting the damaged roof sections to minimize additional structural compromise. This step involves strategic reinforcement to prevent wind, rain, and debris from causing more extensive damage to your home.
Disaster relief organizations recommend carefully stabilizing loose roofing materials to reduce risks of further destruction. Begin by identifying and securing any hanging or partially detached shingles, boards, or tiles using roofing nails or appropriate fasteners. Remove any loose debris that could potentially create additional punctures or damage during subsequent wind or rain events. FEMA guidelines emphasize swift action in securing compromised roof sections to limit exposure to weather elements and potential property loss.
Pay close attention to the edges and perimeter of damaged areas, as these zones are most vulnerable to additional wind and water intrusion. Use plywood sheets or additional tarping to cover exposed framing and create a protective barrier. Work carefully to avoid adding weight or stress to already weakened roof structures, and prioritize creating a stable temporary covering that will protect your home until professional repairs can be completed.
Pro tip: Wear protective footwear with good traction and use a sturdy ladder with someone spotting you to ensure maximum safety while performing temporary roof repairs.
Step 5: Inspect your repair for safety and effectiveness
After implementing temporary roof repairs, conducting a comprehensive inspection is crucial to ensure your emergency measures have effectively protected your home. Your goal is to verify the integrity and performance of the temporary coverings and identify any potential additional issues that might require attention.
Professional roof inspection guidelines recommend a systematic approach to evaluating emergency repairs, focusing on key areas of potential vulnerability. Check the edges and attachment points of tarps or plywood coverings to confirm they remain securely fastened and have not been compromised by wind or additional weather conditions. Look for any signs of new water infiltration inside your home by examining ceilings, walls, and attic spaces for moisture, discoloration, or emerging water stains. FEMA experts emphasize the importance of thorough follow-up inspections to prevent potential safety hazards and verify the effectiveness of temporary protective measures.
If you discover any weaknesses in your temporary repair or notice new areas of concern, document these findings with photographs and detailed notes. This documentation will be valuable when consulting with professional roofing contractors and can help expedite the permanent repair process. Remember that these temporary solutions are designed to provide short term protection and should not be considered a permanent fix for storm damage.
Pro tip: Conduct your inspection during daylight hours and use binoculars to safely examine roof areas from the ground to minimize personal risk.
Protect Your Home with Trusted Emergency Roof Repair Services
After storm damage, you face critical challenges like stopping active leaks quickly and securing damaged roof areas to prevent further destruction. These urgent steps often seem overwhelming and risky without professional help. At Liberty Roofworks, we understand the pain points of temporary fixes—such as unstable tarps and hidden leaks—and we prioritize your safety and home’s protection with expert storm damage repair.
Don’t let minor damage escalate into major problems. Our skilled team offers comprehensive solutions including Storm Damage Repair and Residential Roof Repair & Replacements, designed to restore your roof’s integrity swiftly and effectively. Act now to safeguard your home from impending weather threats by visiting Liberty Roofworks and scheduling your professional roof assessment today. Your peace of mind and roof’s durability depend on prompt, reliable action.
Frequently Asked Questions
How can I safely assess roof damage after a storm?
To safely assess roof damage, start with a ground-level inspection, looking for visible signs like missing shingles or debris. If you suspect significant damage, document your findings with photos and avoid climbing onto the roof to prevent injury.
What emergency repair materials should I gather for storm damage?
Gather heavy duty tarps, plywood sheets, roofing nails, a hammer, and protective safety gear to create an effective emergency repair kit. Organize these materials in a dry, accessible location so you can act quickly when damage occurs.
How do I stop active leaks on my roof after a storm?
To stop active leaks, cover the affected area with a heavy duty tarp, ensuring it overlaps by at least 4 inches for a watertight seal. Secure the tarp properly using roofing nails or staples to prevent additional water damage immediately.
What steps should I take to stabilize damaged roof areas?
Begin by securing any loose roofing materials with roofing nails and removing debris to prevent further damage. Use plywood sheets or additional tarps to cover exposed areas and create a protective barrier until permanent repairs can be made.
How can I ensure my temporary repairs are effective?
Inspect your temporary repairs by checking the edges and attachment points for secure fastening. Examine your home’s interior for new signs of water infiltration and document any issues to address before professional repairs are completed.
What should I document for future roofing repairs?
Document all findings with photographs and detailed notes, especially any weaknesses in your temporary repairs or new areas of concern. This documentation will help when consulting with professional roofing contractors for permanent fixes.
Recommended
- Roof Storm Damage Checklist: Step-By-Step Inspection Guide – Liberty Roofworks
- Emergency Roof Repair Methods for Fast Results – Liberty Roofworks
- Storm Damage Roof Inspection Checklist Guide – Liberty Roofworks
- What is Storm Damage Repair? Understanding Its Importance – Liberty Roofworks
- Shingle Roof Replacement Houston TX | Affordable, Durable Roofing
