Water damage from a leaky roof is one of the top reasons many American homeowners in Charlotte end up facing expensive property repairs. Even a small drip can quickly turn into a significant issue if it is ignored. Tackling minor roof leaks yourself not only saves money but puts you in control of your home’s safety while sidestepping the hassle of emergency calls. This step by step approach helps you spot and fix problems before they escalate—empowering you to protect your investment with clear, practical solutions.
Table of Contents
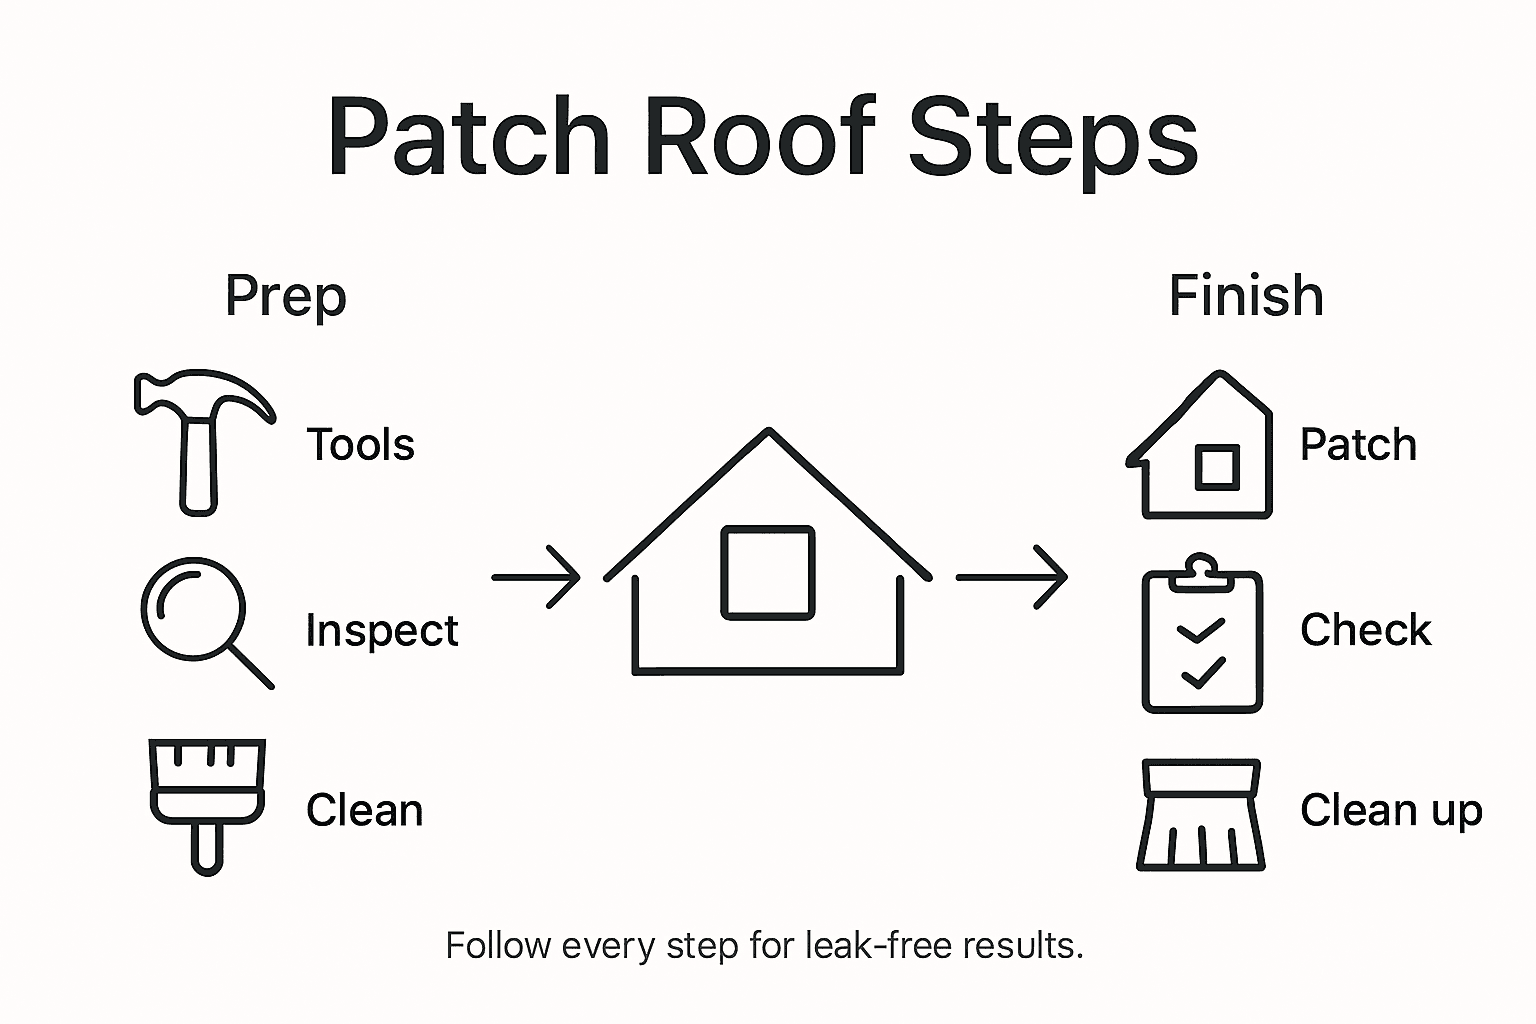
- Step 1: Gather Tools And Inspect The Damaged Area
- Step 2: Clean And Dry The Affected Roof Surface
- Step 3: Apply Roofing Patch Or Sealant Properly
- Step 4: Secure The Patch And Check For Leaks
- Step 5: Finish Repairs And Clean Up The Work Area
Quick Summary
| Key Point | Explanation |
|---|---|
| 1. Prepare with the right tools | Use a ladder, safety harness, gloves, and a checklist to inspect the roof effectively for damage. |
| 2. Clean and dry the area thoroughly | Remove debris and moisture before applying patching materials to ensure a watertight bond. |
| 3. Apply the sealing patch correctly | Select compatible sealant, apply evenly, and allow it to cure as per instructions for optimal results. |
| 4. Test the repair for leaks | After patching, run a water test to confirm no moisture leaks through the ceiling or attic. |
| 5. Document and clean up | Maintain a repair log and ensure all materials and debris are removed for safety and future reference. |
Step 1: Gather tools and inspect the damaged area
Stopping a roof leak starts with careful preparation and strategic inspection. You will need several key tools to assess and address the damage effectively: a sturdy ladder, safety harness, work gloves, flashlight, measuring tape, chalk, and a reliable roof inspection checklist to guide your systematic evaluation.
Carefully climb onto your roof wearing nonslip shoes and safety equipment. Look for obvious signs of damage such as cracked or missing shingles, exposed underlayment, or areas with visible water staining. Walk slowly and gently across the surface paying close attention to spots around chimneys, vents, and valleys where water typically accumulates. Document each problem area with measurements and detailed notes to help plan your repair strategy. Pay special attention to any soft or spongy sections that might indicate underlying water damage or wood rot.
Photograph each damaged section from multiple angles for reference. These visual records will help you track the repair process and can be useful if you need professional assistance later.
Here is a summary of common roof leak causes and how they are typically identified during inspection:
| Leak Cause | Typical Signs Seen | Inspection Focus Area |
|---|---|---|
| Cracked or missing shingles | Exposed roofing felt, gaps visible | Main roof surface, lower edges |
| Damaged flashing | Rust, warping, or separation | Chimneys, vents, roof valleys |
| Blocked gutters | Water overflow, roof stains | Gutter edges, downspouts |
| Loose roofing nails | Raised spots, nail heads visible | Shingle surfaces and valleys |
| Moss or algae growth | Green patches, surface softening | Shaded or north-facing sections |
Pro tip: Always conduct roof inspections with a partner who can spot potential safety risks and help stabilize your ladder. Never inspect a wet or slippery roof surface, and postpone the inspection if weather conditions are unsafe.
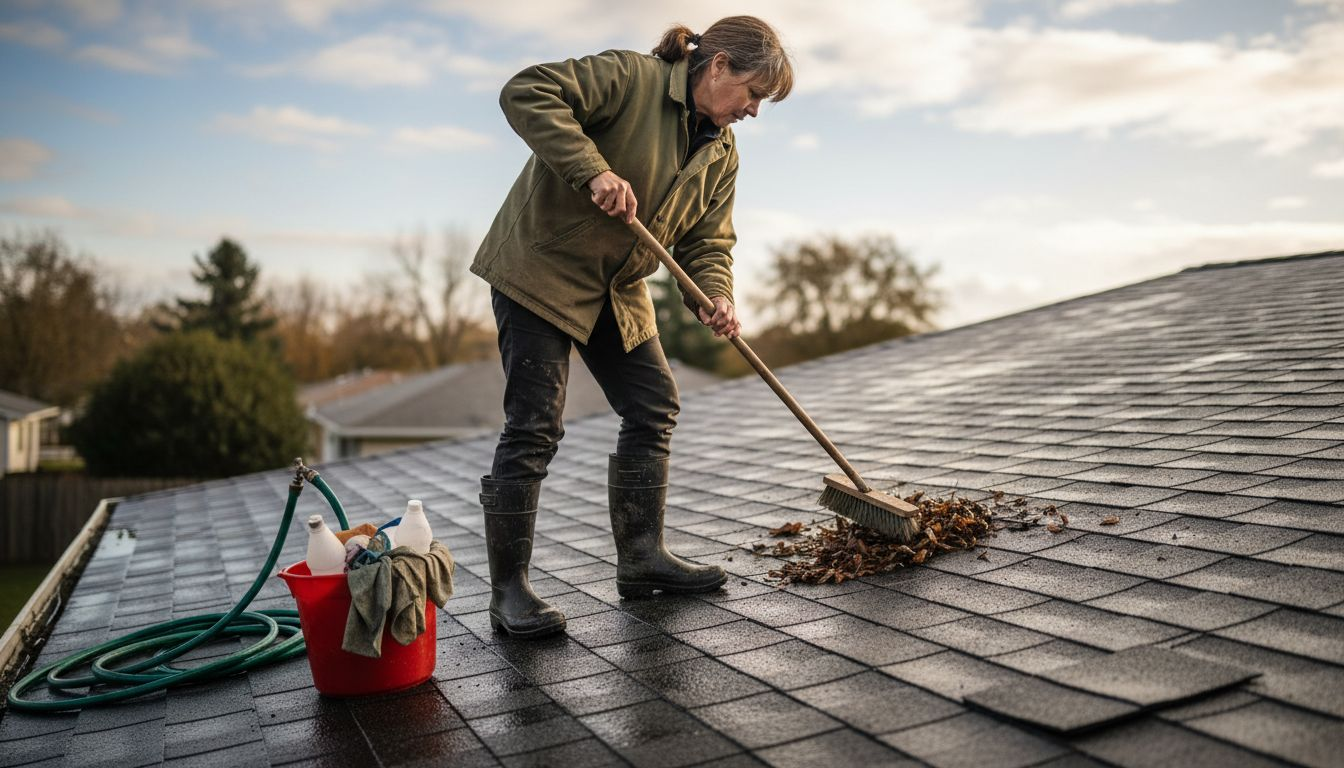
Step 2: Clean and dry the affected roof surface
Preparing the roof surface is a critical step in ensuring a successful repair. Before applying any patching materials, you must thoroughly clean and dry the damaged area to promote optimal adhesion and prevent future complications. Proper surface preparation involves removing all debris, dirt, and loose materials that could interfere with the repair process.
Start by using a soft bristle brush or leaf blower to remove loose debris such as leaves, twigs, and dirt from the damaged area. Next, create a cleaning solution using warm water and mild detergent. Gently scrub the surface with a soft cloth or sponge, being careful not to damage the roofing material. Rinse thoroughly with clean water and allow the area to dry completely. For areas with stubborn dirt or moss, you might need to use a specialized roof cleaning solution that will not harm your roofing material.
After cleaning, use clean towels or allow natural air drying to ensure the surface is completely moisture free. A completely dry surface is essential for the repair materials to bond correctly and create a watertight seal.
Use this table for quick reference when choosing the best drying technique before repair:
| Drying Method | Best For | Key Advantage |
|---|---|---|
| Air drying | Small, sunny roof areas | Chemical-free, simple |
| Towel drying | Minor moisture spots | Fast for small repairs |
| Leaf blower | Dusty or debris-covered | Clears and dries quickly |
| Sun exposure | Large, dry weather repairs | No equipment needed |
Pro tip: Always check the weather forecast before beginning your roof repair. Choose a day with low humidity and no expected rain to ensure optimal drying conditions and the best possible repair outcome.
Step 3: Apply roofing patch or sealant properly
Applying a roofing patch or sealant requires precision and careful technique to effectively stop leaks and prevent future water damage. Proper sealant application involves understanding the specific requirements of your roofing material and using the right products for a lasting repair.
Begin by selecting a roofing sealant or patch that matches your specific roofing material. For most asphalt shingle roofs, use a roofing cement or specialized patch designed for your roof type. Cut the patch slightly larger than the damaged area to ensure complete coverage. Apply a thin layer of roofing cement around the damaged section using a putty knife, then carefully position the patch over the area. Press firmly to remove any air bubbles and ensure a tight seal. For small holes or cracks, you can use a caulking gun to apply sealant directly into the damaged area.
Allow the patch or sealant to cure completely according to the manufacturer instructions. This typically takes several hours to a full day, depending on weather conditions and the specific product used. Avoid walking on the repaired area until the sealant has fully dried and hardened.
Pro tip: Always keep extra roofing materials and sealant on hand. Having the right supplies ready can help you address small roof issues quickly before they become major problems.
Step 4: Secure the patch and check for leaks
After applying the roofing patch, securing its edges and thoroughly testing the repair are critical steps to ensure long lasting protection for your roof. Comprehensive roof repair verification requires careful inspection and strategic testing to confirm the effectiveness of your patch.
Start by pressing down firmly around the patch edges to eliminate any potential air pockets or loose sections. Use a clean cloth or roller to apply consistent pressure and create a smooth seal. Next, run a water test by using a garden hose to simulate rainfall conditions. Carefully spray water over the repaired area and inside the attic to check for any signs of moisture penetration. Watch for water droplets or dampness in the attic space that might indicate incomplete sealing. If you notice any water seeping through, you may need to reapply the patch or consider additional repair techniques.
If possible, monitor the repaired section during the next few rainstorms to validate the patch integrity. Look for any signs of water staining or moisture that could suggest the repair did not completely resolve the leak.
Pro tip: Photograph the repair area before and after patching. These visual records can help you track the repair progress and provide documentation if you need professional assistance in the future.
Step 5: Finish repairs and clean up the work area
Properly completing your roof repair requires careful final steps to ensure safety and maintain the integrity of both your repair and surrounding roof area. Safety focused cleanup procedures are critical to prevent potential hazards and protect your property from unnecessary damage.
Collect all used materials including old roofing pieces, excess sealant containers, and any protective gear. Carefully dispose of debris in heavy duty trash bags, separating recyclable materials if possible. Inspect your tools and clean them thoroughly removing any remaining sealant or roofing materials. Wipe down your work area completely paying special attention to areas around the repair site to remove any loose granules or debris that could potentially cause future issues. Store any remaining repair materials in a cool dry place for future use ensuring they are properly sealed and labeled.
Take a final walk around the repair area to confirm everything looks clean and organized. Verify that no tools or materials have been left behind on the roof or surrounding property. Double check your ladder placement and ensure all equipment has been safely removed from the work site.
Pro tip: Create a small repair log documenting the date of repair, materials used, and any observations about the repair process. This documentation can be invaluable for future maintenance or if you need to consult a professional roofing contractor.
Protect Your Home with Expert Roof Leak Repairs from Liberty Roofworks
If you have just read “Essential Steps to Patch Roof and Stop Leaks Quickly” you understand how critical it is to properly inspect, clean, and seal roof damage to prevent ongoing water issues and costly repairs. Leaks from cracked shingles or damaged flashing must be addressed with skill and the right materials to restore full protection. At Liberty Roofworks, we specialize in delivering dependable roof repair solutions that ensure a watertight seal and lasting durability for your Charlotte, NC home or business.
Do not let a minor leak turn into a major headache. Our experienced team offers comprehensive Residential Roof Repair & Replacements and Commercial Roof Repair services so you can trust your roof is in the best hands. Contact us today at Liberty Roofworks to schedule an inspection or repair. Act now to safeguard your property and enjoy peace of mind knowing your roof is professionally protected against leaks and storm damage.
Frequently Asked Questions
How do I identify the source of a roof leak?
To identify the source of a roof leak, inspect your roof for damaged areas like cracked or missing shingles. Focus on valleys, chimneys, and vent areas, recording any findings with notes and photos to guide your repair strategy.
What tools do I need to patch a roof effectively?
To patch a roof effectively, gather a sturdy ladder, safety harness, work gloves, flashlight, measuring tape, and a roofing inspection checklist. These tools will help you assess the damage and ensure a safer, more organized repair process.
How can I properly clean the area before applying a roof patch?
To properly clean the area before applying a patch, remove debris with a leaf blower or soft brush, then use a mild detergent solution to scrub the surface. Ensure the area is completely dry before applying any patching materials to promote proper adhesion.
What steps should I follow after applying a roofing patch?
After applying a roofing patch, press down firmly around the edges to eliminate air pockets and check for leaks using a garden hose. Run water over the repaired area and inside the attic to confirm that no moisture is seeping through.
How should I dispose of materials after completing a roof repair?
After completing a roof repair, collect all used materials, such as old shingles and excess sealant, and dispose of them in heavy-duty trash bags. Clean your tools and work area thoroughly to prevent hazards and prepare for any future repairs.
Why is it important to document my roof repair process?
Documenting your roof repair process helps you track what materials were used and any observations about the repair. This log can be invaluable for future maintenance or if you need to hire a professional roofer later.
