TPO roofing is rapidly becoming the top choice for commercial buildings, with over 50 percent of new flat roofing projects now using TPO membrane. Most owners think it is all about rolling out a new layer and sealing the edges. Surprise. The real secret to a long lasting TPO roof starts before the first sheet is unrolled and comes down to how well you inspect and prep the existing roof. Get this wrong and even the best materials will not save you from future leaks and failures.
Table of Contents
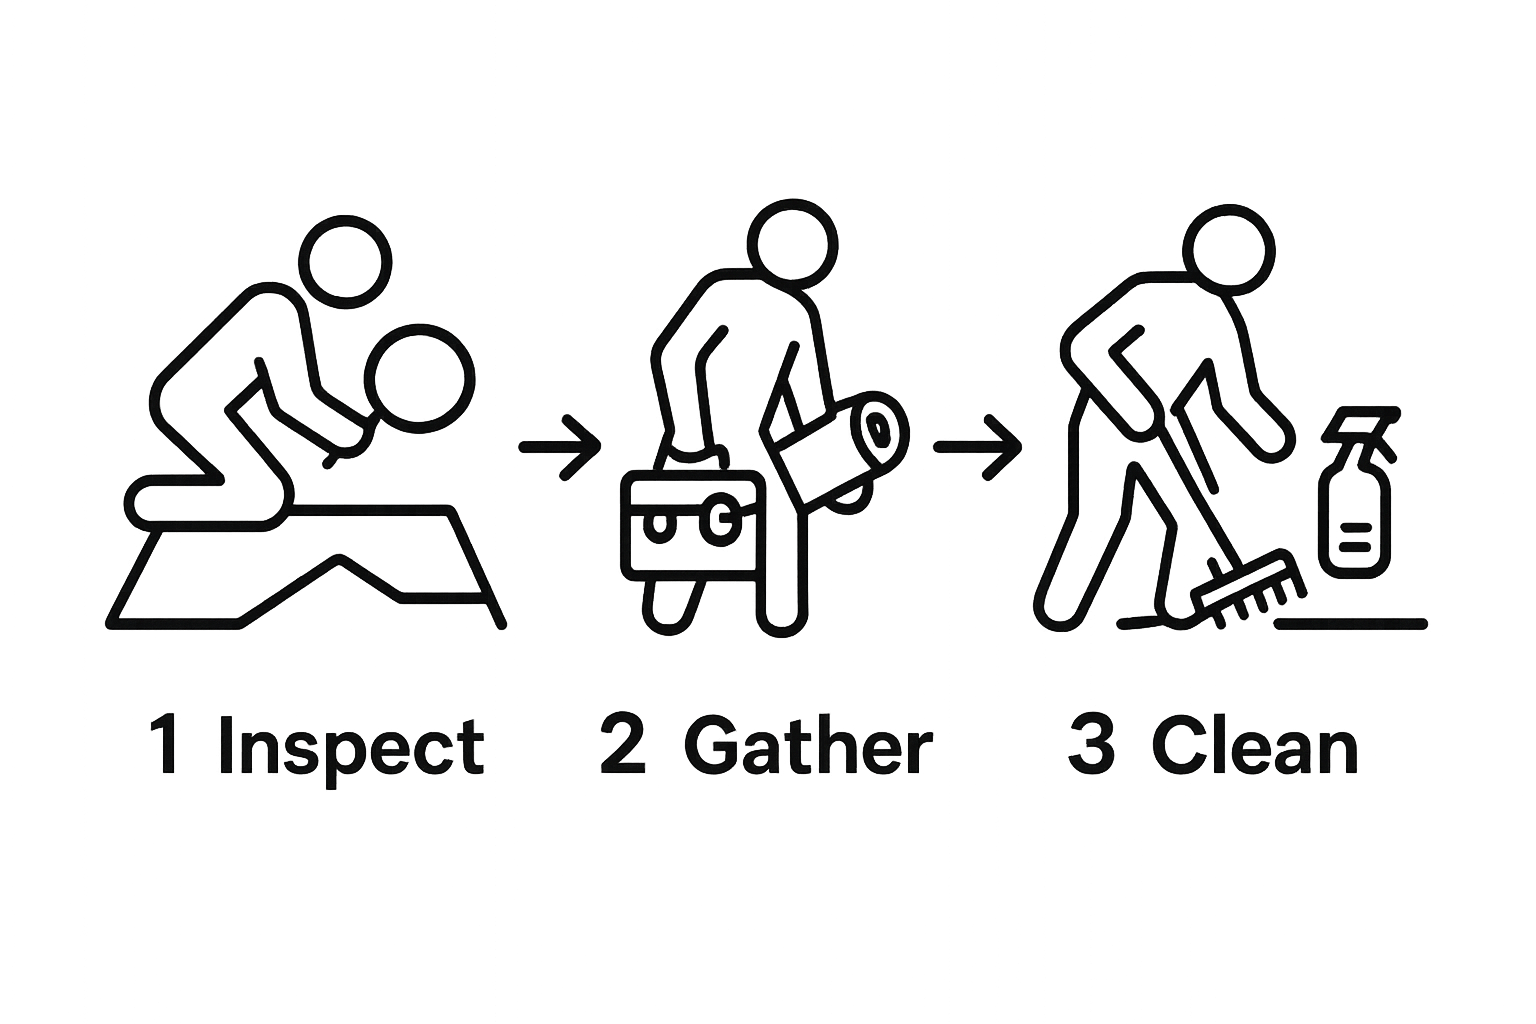
- Step 1: Inspect Your Current Roof Condition
- Step 2: Gather Necessary Materials and Tools
- Step 3: Prepare The Roof Surface For Installation
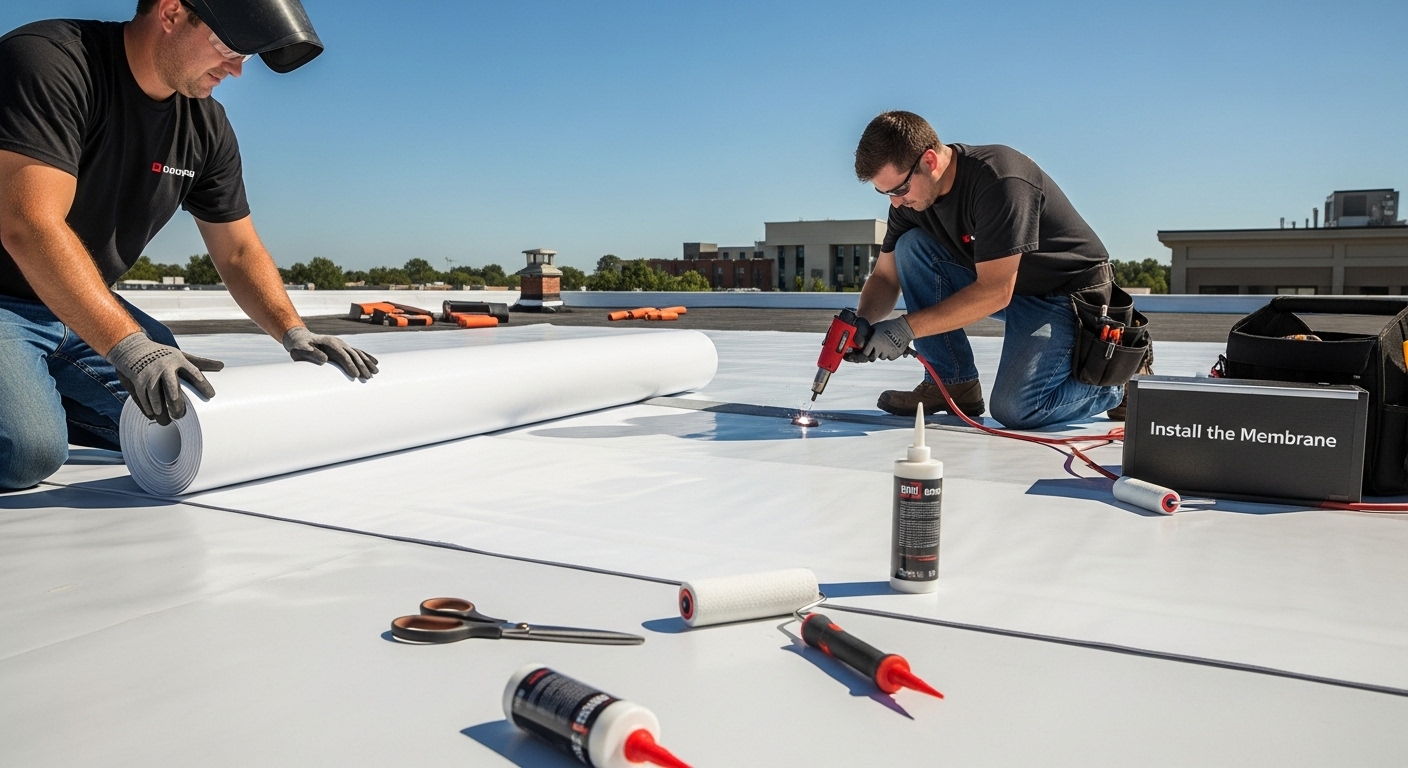
- Step 4: Install The TPO Membrane
- Step 5: Secure And Seal The Roof Edges
- Step 6: Conduct A Final Inspection And Testing
Quick Summary
| Key Point | Explanation |
|---|---|
| 1. Conduct a thorough roof inspection | Assess for damage and weaknesses to ensure a successful TPO roofing installation. Document findings for professional guidance. |
| 2. Prepare essential materials and tools | Gather TPO membrane and tools like adhesives and welding guns, ensuring everything is compatible and ready before starting. |
| 3. Clean and inspect the roof surface | Remove debris and repair any structural issues to create a solid foundation for the new TPO membrane installation. |
| 4. Execute precise membrane installation | Roll out the membrane with proper overlaps, ensuring no wrinkles, and use heat welding for strong seams between sheets. |
| 5. Perform a comprehensive final inspection | Check for membrane integrity and test strength at seams to confirm the quality and reliability of your roofing installation. |
Step 1: Inspect Your Current Roof Condition
Before diving into the TPO roofing installation process, a comprehensive roof inspection serves as the critical foundation for a successful project. Proper assessment allows you to identify potential challenges, understand existing roof conditions, and develop a strategic installation approach. Professional roofing contractors recommend conducting a thorough visual and structural examination to prevent future complications.
Begin your roof inspection by carefully accessing the roof surface, ensuring you have appropriate safety equipment like non slip shoes, a sturdy ladder, and fall protection gear. Look for signs of existing damage such as punctures, tears, water stains, bubbling, or areas of membrane separation. Pay special attention to seams, edges, and transition points where roofing materials connect. These zones often reveal early indicators of potential structural weaknesses that could compromise your new TPO roofing installation.
Carefully document your findings through detailed photographs and written notes. Capture clear images of any visible damage, measuring and marking specific problem areas. This documentation will prove invaluable when consulting with professional roofing installers and developing a comprehensive repair strategy. According to OSHA Safety Guidelines, always prioritize personal safety during roof inspections by:
- Wearing appropriate personal protective equipment
- Using fall protection systems
- Ensuring ladder stability before climbing
- Avoiding inspections during adverse weather conditions
If you discover significant damage or are uncomfortable performing the inspection yourself, consulting a professional roofing contractor is recommended. They can provide a comprehensive assessment and detailed recommendations specific to your roof’s unique characteristics. A professional inspection helps identify underlying issues that might not be immediately visible, ensuring your TPO roofing installation begins with a solid, well prepared foundation.
Step 2: Gather Necessary Materials and Tools
Successful TPO roofing installation hinges on having the right materials and tools prepared before beginning the project. This preparation stage is critical to ensuring a smooth, efficient installation process that minimizes disruptions and potential complications. Professional roofers understand that comprehensive preparation can significantly reduce installation time and improve overall project quality.
Essential materials for TPO roofing installation include the TPO membrane itself, which comes in various thicknesses typically ranging from 45 to 90 mil. You will need carefully measured rolls that cover your entire roof surface with appropriate overlap allowances. Additional critical materials include specialized TPO adhesives, seam primers, flashing details, and termination bars. Professional grade tools are equally important and include a heat welding gun specifically designed for TPO membranes, precision cutting tools, measuring tape, chalk lines, roofing scissors, and safety equipment like gloves and protective eyewear.
According to Western Washington University’s Roofing Guidelines, selecting materials from a single manufacturer ensures optimal compatibility and performance. When gathering your materials, prioritize purchasing from reputable roofing supply vendors who can provide expert advice and verify product specifications. Key verification steps include checking material warranties, confirming measurements, and ensuring all components are from compatible product lines.
Consider creating a comprehensive materials checklist to track your inventory and prevent midproject delays. Your list should account for potential waste and include approximately 10% extra material to accommodate complex roof geometries or unexpected challenges. Some essential items for your checklist include:
- TPO membrane rolls
- Heat welding equipment
- Seam primers and adhesives
- Flashing materials
- Termination bars
- Safety protective gear
Remember that proper tool preparation goes beyond simply collecting materials. Inspect each tool for functionality, calibrate precision equipment like welding guns, and ensure all safety gear meets current occupational standards. By meticulously preparing your materials and tools, you set the stage for a professional and successful TPO roofing installation.
Here is a summary table detailing the essential tools and materials needed for a professional TPO roofing installation, including their main purpose and important notes on selection and preparation.
| Tool/Material | Purpose | Key Notes |
|---|---|---|
| TPO membrane rolls | Main waterproof roofing layer | Choose thickness (45-90 mil), allow for overlap |
| Heat welding equipment | Welding seams between membrane sheets | Calibrate temperature and speed before use |
| Seam primers and adhesives | Enhance seam strength and adhesion | Use manufacturer-recommended products |
| Flashing materials | Waterproofing penetrations and transitions | Must be compatible with TPO membrane |
| Termination bars | Secure membrane at perimeter and details | Install with corrosion-resistant fasteners |
| Safety protective gear | Personal safety during installation | Must meet occupational safety standards |
| Measuring and cutting tools | Accurate measurement and membrane fitting | Use sharp scissors and precise measuring tape |
Step 3: Prepare the Roof Surface for Installation
Preparing the roof surface represents a critical phase in the TPO roofing installation process, where meticulous attention to detail determines the long term success of your roofing project. This comprehensive preparation involves creating a clean, smooth, and structurally sound foundation that will support the new TPO membrane and ensure optimal performance and durability.
Begin by thoroughly cleaning the existing roof surface, removing all debris, loose materials, and potential contaminants. Use industrial grade power washers or specialized roofing cleaning equipment to eliminate dirt, dust, and residual substances that could compromise membrane adhesion. Pay special attention to removing old sealants, existing roofing materials, and any protrusions that might puncture the new membrane. A clean surface is essential for proper TPO membrane installation, as any remaining debris can create weak points or prevent proper bonding.
According to Western Washington University’s Roofing Guidelines, it is crucial to inspect and reinforce the roof substrate before membrane installation. This involves checking the structural integrity of the roof deck, repairing any damaged areas, and ensuring that all projections are firmly secured. Look for signs of water damage, wood rot, or structural weakness that could compromise the new roofing system. Critical areas to examine include:
- Roof deck structural integrity
- Existing insulation layers
- Potential moisture damage
- Protrusion and penetration points
- Edge conditions and perimeter details
After cleaning and initial inspection, create a smooth and even surface by addressing any irregularities. This might involve applying a new layer of insulation, installing cover boards, or using leveling compounds to create a uniform substrate. Precise substrate preparation ensures that the TPO membrane will lay flat, minimize stress points, and provide maximum water resistance.
Take measurements and mark critical installation zones, including seam locations, field areas, and detail regions. By investing time in thorough surface preparation, you significantly enhance the performance and longevity of your new TPO roofing system.
Step 4: Install the TPO Membrane
The TPO membrane installation represents the most critical phase of your roofing project, where precision and technique determine the long term performance of your roof. This step transforms your carefully prepared surface into a watertight protective barrier that will shield your building from environmental challenges for years to come.
Unroll the TPO membrane carefully, ensuring it lays flat without wrinkles or tension points. Position each membrane roll with appropriate overlap allowances, typically 3 to 4 inches between sheets. Professional installers recommend allowing the membrane to relax and adjust to ambient temperatures for at least 30 minutes before final positioning. This helps prevent potential stretching or contraction issues during the welding process.
According to TPO Roofing Installation Guidelines, welding represents the most crucial technical aspect of membrane installation. Use a professional grade hot air welding gun, maintaining consistent temperature and speed to create seamless, robust connections between membrane sheets. Critical welding parameters include:
- Maintaining steady welding gun speed
- Controlling precise heat temperature
- Checking weld integrity immediately after creation
- Avoiding excessive heat that could damage membrane
After completing the initial membrane installation, conduct a comprehensive inspection to verify complete coverage and identify any potential weak points. Use a blunt probe to test seam integrity, checking for consistent fusion and absence of gaps. Pay special attention to detail areas around roof penetrations, edges, and complex geometric transitions.
 Perform test welds periodically to ensure equipment calibration and technique consistency. By meticulously executing each installation step, you create a durable, water resistant roofing system that will provide reliable protection for your building.
Step 5: Secure and Seal the Roof Edges
Securing and sealing roof edges represents the final critical barrier in creating a watertight TPO roofing system. This step transforms your membrane installation into a comprehensive protective envelope, preventing water infiltration and ensuring long term structural integrity. Proper edge treatment is not just a technical requirement but a fundamental defense against environmental challenges.
Begin by preparing the perimeter areas with precision and care. Install termination bars along the roof edges, ensuring they are firmly anchored into the underlying substrate. These metal strips create a mechanical connection point for the TPO membrane, distributing tension and preventing potential lifting during high wind conditions. Use corrosion resistant fasteners spaced approximately 6 inches apart, maintaining consistent alignment and avoiding over tightening that could damage the membrane surface.
According to Western Washington University’s Roofing Guidelines, using TPO coated metal for outside leading edges provides superior protection and seamless integration. Apply specialized TPO edge sealants and primers to create a robust, water resistant seal. Critical sealing techniques include:
- Cleaning edge surfaces thoroughly before application
- Using manufacturer recommended primer and sealant
- Maintaining consistent application pressure
- Checking for complete coverage without gaps
- Verifying adhesion strength
After completing the edge sealing process, conduct a comprehensive inspection focusing on perimeter details. Check for smooth membrane transitions, verify full adhesion, and ensure no wrinkles or potential water entry points exist. Run your hands along the sealed edges, feeling for consistent attachment and absence of bubbles or loose sections. By meticulously executing these edge sealing techniques, you create a resilient roofing system capable of withstanding diverse environmental challenges and protecting your building for years to come.
Step 6: Conduct a Final Inspection and Testing
The final inspection and testing phase represents the critical quality assurance step that validates the entire TPO roofing installation process. This comprehensive evaluation ensures that every aspect of your roofing system meets professional standards, manufacturer specifications, and building safety requirements. Think of this stage as the ultimate health check for your newly installed roof, where meticulous examination prevents potential future complications.
Begin with a systematic visual inspection, carefully walking the entire roof surface and examining every detail. Look for subtle indicators of potential issues such as membrane irregularities, seam integrity, edge terminations, and any signs of uneven installation. Use a bright flashlight to highlight potential imperfections that might be invisible under normal lighting conditions. Pay special attention to areas around roof penetrations, corners, and transition zones where installation complexities are most likely to occur.
According to Western Washington University’s Roofing Guidelines, professional final testing should include multiple verification methods. Critical testing procedures include:
- Conducting water ponding tests
- Performing seam strength evaluations
- Checking membrane adhesion points
- Verifying proper drainage functionality
- Inspecting all flashings and penetration seals
Utilize specialized testing equipment like moisture meters and infrared cameras to detect potential hidden issues not visible during standard visual inspections. These advanced diagnostic tools can reveal subsurface moisture intrusion, incomplete seam welds, or thermal inconsistencies that might compromise your roofing system’s long term performance. Document all findings meticulously, creating a comprehensive record that serves both as a quality assurance report and a future reference for maintenance planning. By conducting a thorough final inspection, you transform a good roofing installation into an exceptional, reliable protective system.
Eliminate Guesswork and Secure Lasting TPO Roof Success
Installing TPO roofing yourself can feel overwhelming. The article highlights critical steps like a full roof inspection, careful material selection, and expert welding technique. Even the smallest oversight—such as a missed seam or a poorly sealed edge—can put your investment at risk. If you want results that truly last, expert guidance makes all the difference.
Let Liberty Roofworks take that pressure off your shoulders.
This step overview table provides a concise summary of each phase in the TPO roofing installation process, outlining the main goal and the expected outcome for every step.
| Step | Main Goal | Key Outcome |
|---|---|---|
| Inspect current roof condition | Assess damage and weaknesses | Accurate site evaluation |
| Gather materials and tools | Ensure all required items are prepared | Efficient, uninterrupted installation |
| Prepare the roof surface | Clean and repair to create solid foundation | Proper membrane bonding and durability |
| Install TPO membrane | Lay and weld membrane sheets securely | Watertight roof coverage |
| Secure and seal roof edges | Reinforce edges against water and wind | Protected, resilient roof perimeter |
| Final inspection and testing | Confirm quality and address issues | Verified, long-lasting installation |
Frequently Asked Questions
What are the primary steps involved in the TPO roofing installation process?
The primary steps in TPO roofing installation include inspecting the current roof condition, gathering necessary materials and tools, preparing the roof surface, installing the TPO membrane, securing and sealing the roof edges, and conducting a final inspection and testing.
How do I prepare my roof surface before installing the TPO membrane?
Preparing the roof surface involves cleaning it thoroughly to remove debris, checking the structural integrity of the roof deck, and addressing any irregularities to create a smooth, even surface for optimal membrane adhesion.
What tools are essential for a successful TPO roofing installation?
Essential tools include a heat welding gun, precision cutting tools, measuring tape, roofing scissors, and safety equipment like gloves and protective eyewear to ensure a safe and efficient installation process.
How can I ensure the seam integrity during TPO membrane installation?
To ensure seam integrity, maintain consistent welding speed and temperature when using a hot air welding gun, and conduct immediate checks for gaps or weak points in the seams after welding to ensure a robust, watertight connection.
