Severe storms can leave Charlotte homeowners feeling overwhelmed as they survey battered roofs, scattered debris, and the urgent need for quick action. In these stressful moments, protecting your home from further damage starts with knowing how to safely assess hazards and implement immediate, temporary fixes. By focusing on safety and the right repair steps, you can maintain peace of mind and safeguard your family until professional help arrives.
Table of Contents
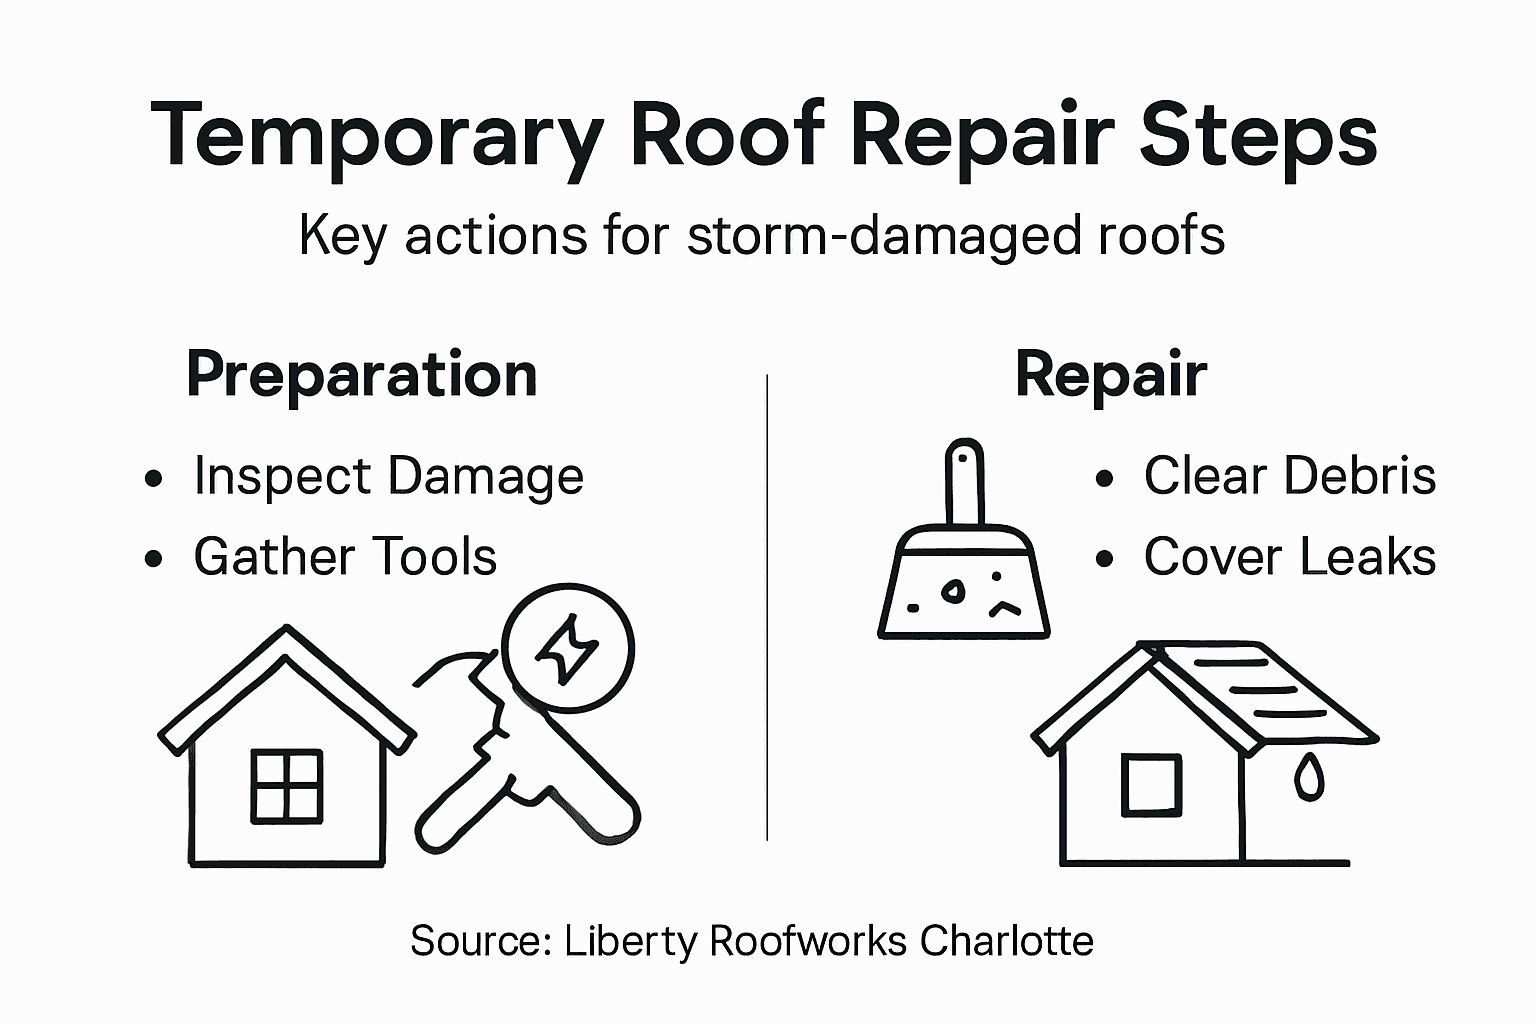
- Step 1: Assess Storm Damage And Identify Hazards
- Step 2: Gather Essential Tools And Safety Gear
- Step 3: Clear Debris And Prepare Damaged Area
- Step 4: Cover Leaks With Waterproof Materials
- Step 5: Secure Temporary Roof Cover Properly
- Step 6: Inspect And Monitor For Further Issues
Quick Summary
| Key Point | Explanation |
|---|---|
| 1. Conduct a Safe, Initial Damage Assessment | Inspect from the ground for roof damage signs without risking personal safety. Use binoculars to aid visibility. |
| 2. Gather Essential Safety Tools and Gear | Ensure you have protective clothing and inspection tools ready before any assessment or repair activities. Safety is paramount. |
| 3. Clear Debris Systematically and Safely | Remove larger debris first, keeping safety precautions in mind to avoid further damage to your property. Document the process. |
| 4. Apply Temporary Waterproofing Solutions Promptly | Use appropriate waterproof materials to prevent additional water damage after a storm; ensure a watertight seal. |
| 5. Monitor and Inspect Temporary Repairs Regularly | Regularly check temporary solutions for signs of wear or new leaks to prevent long-term structural damage. Set reminders for inspections. |
Step 1: Assess Storm Damage and Identify Hazards
Storm damage assessments are critical for protecting your Charlotte home after severe weather strikes. Your primary goal is to safely document and evaluate potential roof and structural risks without putting yourself in danger.
Begin by conducting a preliminary visual inspection from the ground, looking for obvious signs of damage. Comprehensive damage assessment procedures recommend checking for several key indicators:
- Missing or displaced roof shingles
- Visible holes or punctures in roofing materials
- Debris scattered around your property
- Fallen tree branches near or touching your roof
- Signs of water infiltration like dark spots or stains
Prioritize safety during this initial assessment. Do not climb onto the roof yourself, especially if you suspect significant structural compromise. Professional roof inspectors have the proper equipment and training to conduct thorough evaluations without risking personal injury.
Look for secondary hazards that might indicate more serious damage. These include downed power lines, potential gas leaks, or areas where structural integrity seems compromised. Take photographs of any damage you observe, as these will be crucial for insurance documentation.
Here’s a summary of storm-related risks and their immediate actions:
| Hazard Type | Potential Risk | Immediate Action |
|---|---|---|
| Downed power lines | Electrical shock, fire hazard | Evacuate and call utility company |
| Gas leaks | Explosion, health hazard | Leave property, notify gas provider |
| Structural compromise | Collapse, injury | Avoid area, contact professionals |
| Water infiltration | Mold growth, interior damage | Document and begin drying process |
Critical Safety Note: If you observe exposed electrical lines, gas leaks, or significant structural damage, evacuate the area immediately and contact local emergency services.
Pro Tip: Always keep a pair of binoculars handy for conducting safe, ground-level roof damage inspections without risking personal safety.
Step 2: Gather Essential Tools and Safety Gear
Before attempting any roof damage assessment or temporary repair, you’ll need to assemble the right tools and safety equipment to protect yourself and effectively document storm damage. Comprehensive safety guidance emphasizes the critical importance of proper personal protective equipment (PPE).
Your essential safety and inspection toolkit should include:
- Protective Clothing
- Non-slip work boots with good ankle support
- Heavy-duty work gloves
- Safety glasses or protective eyewear
- Hard hat (for overhead protection)
- Long-sleeved shirt and durable work pants
- Inspection Tools
- Sturdy extension ladder
- Binoculars for ground-level roof inspection
- Digital camera or smartphone for documentation
- Measuring tape
- Flashlight with extra batteries
- Documentation Supplies
- Notebook or digital device for recording observations
- Insurance claim forms
- Pen or waterproof marker
When selecting your equipment, prioritize quality and safety over cost. Cheap tools can compromise your protection and effectiveness during roof damage assessment. Professional-grade safety gear might seem expensive, but it’s far less costly than potential medical bills or long-term injuries.
Safety Warning: Never attempt roof inspection or repairs without proper training and equipment, especially after storm damage.
Pro Tip: Invest in a lightweight, telescoping ladder with stabilizers to ensure safe and stable ground-level roof inspections.
Step 3: Clear Debris and Prepare Damaged Area
After assessing storm damage, your next critical step is safely clearing debris and preparing the damaged roof area for temporary repair. Efficient debris management requires careful planning and systematic approach to ensure safety and prevent further damage.
Begin by systematically removing debris from around your roof and property. Your debris clearing process should include:
- Safety Precautions
- Wear protective gloves and safety glasses
- Use long-handled tools to avoid direct contact with debris
- Check for sharp objects or potentially hazardous materials
- Keep a first aid kit nearby
- Debris Removal Steps
- Start with large branches and fallen tree limbs
- Clear smaller debris like leaves, twigs, and roof fragments
- Separate recyclable materials from general waste
- Create designated piles for different types of debris
Pay special attention to potential hidden damage. Debris can mask underlying structural issues or create additional risks. Look for signs of water infiltration, compromised roof sections, or areas where debris might have punctured your roofing material.
Critical Observation: Small debris can cause significant damage if left unaddressed, potentially leading to more extensive roof repairs.
Document everything with photographs for insurance purposes. Take clear, well-lit images that show the extent of debris and potential damage before you begin clearing.
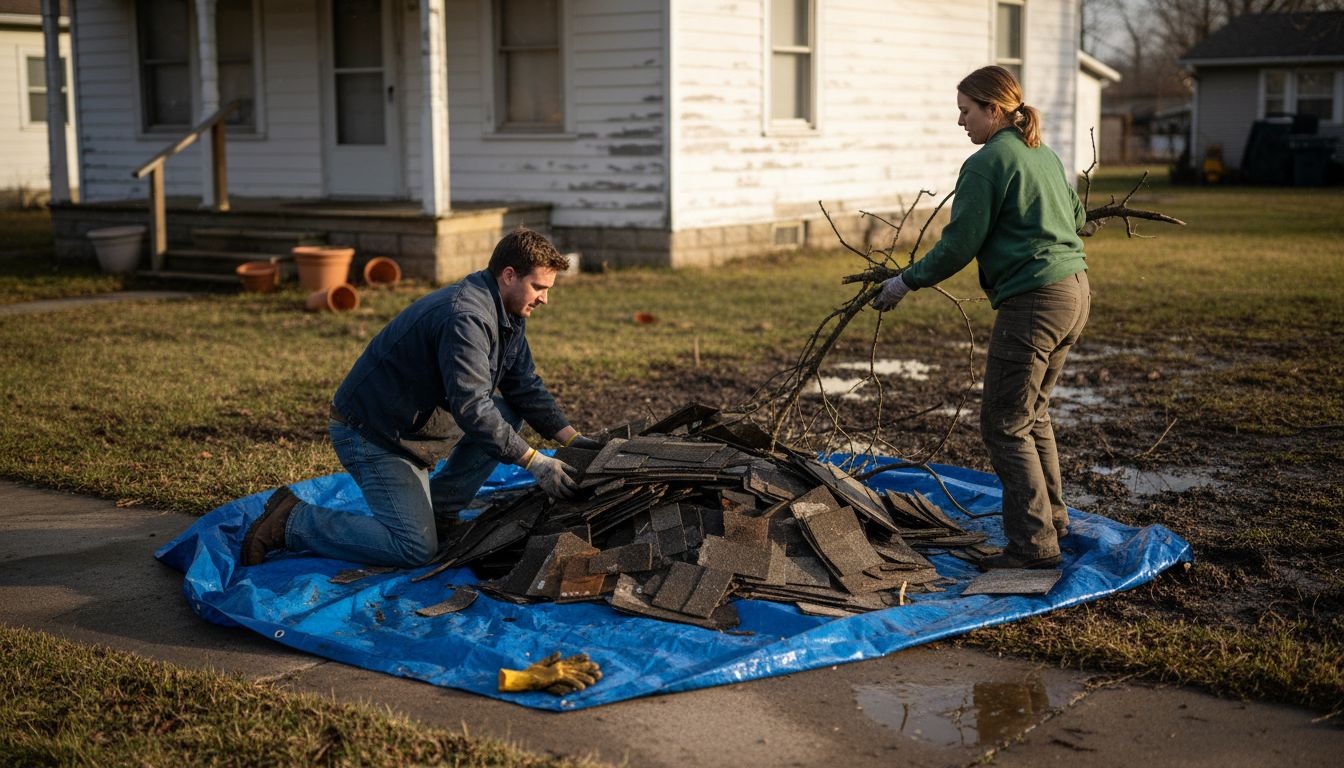
Pro Tip: Use a tarp to collect and easily transport small debris, minimizing additional cleanup and potential property damage.
Step 4: Cover Leaks with Waterproof Materials
Quickly preventing further water damage requires strategically applying the right waterproofing solutions to your storm-damaged roof. Waterproofing methods provide temporary protection that can save you thousands in potential interior damage.
Your temporary leak coverage toolkit should include:
- Waterproofing Materials
- Roofing tar
- Waterproof tarps
- EPDM rubber patches
- Liquid rubber sealant
- Heavy-duty plastic sheeting
- Application Techniques
- Clean and dry the damaged area thoroughly
- Cut waterproof material slightly larger than the leak
- Apply sealant around patch edges
- Press material firmly to ensure complete coverage
- Add additional sealant over patch edges
Pay close attention to overlap and sealing. A poorly applied patch can become another entry point for water, potentially causing more damage than the original leak. Ensure your temporary solution creates a watertight seal that can withstand Charlotte’s unpredictable weather conditions.
Important Note: Temporary patches are not permanent solutions. Schedule professional roof repair as soon as possible.
Document your temporary repair with clear photographs from multiple angles. These images will be crucial for insurance claims and future repair estimates.
Pro Tip: Select waterproof materials rated for UV resistance to prevent degradation during outdoor exposure.
This table compares two temporary roof covering materials for storm protection:
| Material Type | Durability in Weather | Ease of Installation | Best For |
|---|---|---|---|
| Waterproof tarps | Moderate, UV-sensitive | Quick and simple | Large surface patches |
| EPDM rubber patches | High, UV-resistant | Requires adhesive/sealant | Small, precise leaks |
Step 5: Secure Temporary Roof Cover Properly
Temporary roof protection demands precise and strategic fastening to withstand Charlotte’s unpredictable weather conditions. Roof securing techniques can mean the difference between minimal and extensive water damage during storm recovery.
Your temporary cover securing process should include:
- Essential Fastening Tools
- Ring-shank roofing nails
- Heavy-duty staple gun
- Hammer
- Cordless drill
- Work gloves
- Securing Techniques
- Stretch tarp completely flat
- Overlap edges by at least 6 inches
- Use multiple fastening points
- Avoid creating water collection pockets
- Add wooden boards for extra weight and stability
When applying your temporary cover, create a secure perimeter by fastening every 12-18 inches along the edges. Focus on creating tension across the material to prevent wind uplift and water pooling. Pay special attention to corners and edges where wind can easily penetrate and cause additional damage.
Critical Protection Strategy: Secure temporary covers as if permanent roofing depends on it – because your home’s interior definitely does.
Remember that this is a stopgap measure. Temporary covers are not permanent solutions and should be replaced with professional repairs as quickly as possible.
Pro Tip: Use diagonal fastening patterns to distribute wind pressure more evenly across your temporary roof cover.
Step 6: Inspect and Monitor for Further Issues
After implementing temporary roof repairs, vigilant monitoring becomes crucial to prevent potential long-term damage to your Charlotte home. Structured roof inspection techniques can help you catch emerging problems before they escalate into costly repairs.
Your comprehensive monitoring checklist should include:
- Visual Inspection Points
- Check temporary cover for tears or displacement
- Look for water stains inside your home
- Examine ceiling for new moisture spots
- Inspect attic for water infiltration signs
- Monitor temporary patches for wear
- Inspection Frequency
- Immediately after installation
- Daily during first 48 hours
- Every other day for first week
- Weekly until permanent repair
- After each significant weather event
Pay special attention to areas around patches, seams, and roof edges where water might find new entry points. Take photographs during each inspection to document any changes or developing issues. These images can be valuable for insurance claims and professional repair assessments.
Critical Monitoring Note: Temporary repairs are exactly that – temporary. Continuous observation is your best defense against potential structural damage.
Remember that Charlotte’s variable weather can quickly compromise temporary fixes. Wind, rain, and temperature changes can accelerate material degradation and create new vulnerabilities.
Pro Tip: Set phone reminders for your inspection schedule to ensure you don’t miss critical monitoring windows.
Protect Your Charlotte Home with Expert Storm Damage Roof Repairs
Dealing with temporary roof repairs after a storm can feel overwhelming. The article highlights key challenges like identifying hazards, securing waterproof patches, and monitoring your roof to avoid further damage. If you are navigating safety concerns or unsure about applying effective temporary fixes like EPDM rubber patches or waterproof tarps, you are not alone. These critical steps demand skill, quality materials, and proper techniques to prevent costly interior damage or structural issues.
At Liberty Roofworks, we understand the urgency of protecting your home after storm damage. Our experienced team specializes in Storm Damage Repair tailored for Charlotte homeowners who want reliable and long-lasting results beyond just temporary solutions. Whether you need professional assessment, expert debris removal, or full residential roof repairs and replacements, trust us to deliver safety and peace of mind. Act now to avoid worsening leaks or structural hazards by contacting Liberty Roofworks today. Let us help you secure your roof with precision and care so you can focus on what matters most.
Frequently Asked Questions
How do I assess storm damage to my roof?
Begin by conducting a visual inspection from the ground, looking for missing shingles, visible holes, and signs of water infiltration. Record any damage with photographs to support your insurance claim.
What safety gear do I need for a temporary roof repair?
Essential safety gear includes non-slip work boots, heavy-duty gloves, safety glasses, and a hard hat. Ensure you gather all protective equipment before starting any inspection or repair work.
What materials should I use for temporary waterproofing?
Utilize waterproof tarps, roofing tar, and liquid rubber sealants for effective temporary coverage. Make sure to apply these materials correctly to create a watertight seal that can withstand weather conditions.
How do I secure a temporary roof cover?
Secure the cover by overlapping edges by at least six inches and fastening it every 12 to 18 inches along the periphery. Consider using wooden boards for extra weight to prevent wind uplift and ensure stability.
How often should I monitor my temporary roof repairs?
Inspect your temporary repairs daily for the first 48 hours, then every other day for the next week. Continue monitoring weekly until a professional repair is completed to catch any potential issues early.
What initial actions should I take after a severe storm?
Immediately assess your property for hazards like downed power lines or gas leaks. Document any visible damage and prioritize safety by avoiding compromised areas until professional help is obtained.
Recommended
